Skip to main content
Go to side pane
PieFed
Home
Home
Popular
All posts
Topics
Browse by topic
All communities
Log in
Register
Donate
Home
Topics
Arts & Craft
Craft
Woodworking@lemmy.ca
Woodworking
Create post
Hot
Top
New
Active
52
2
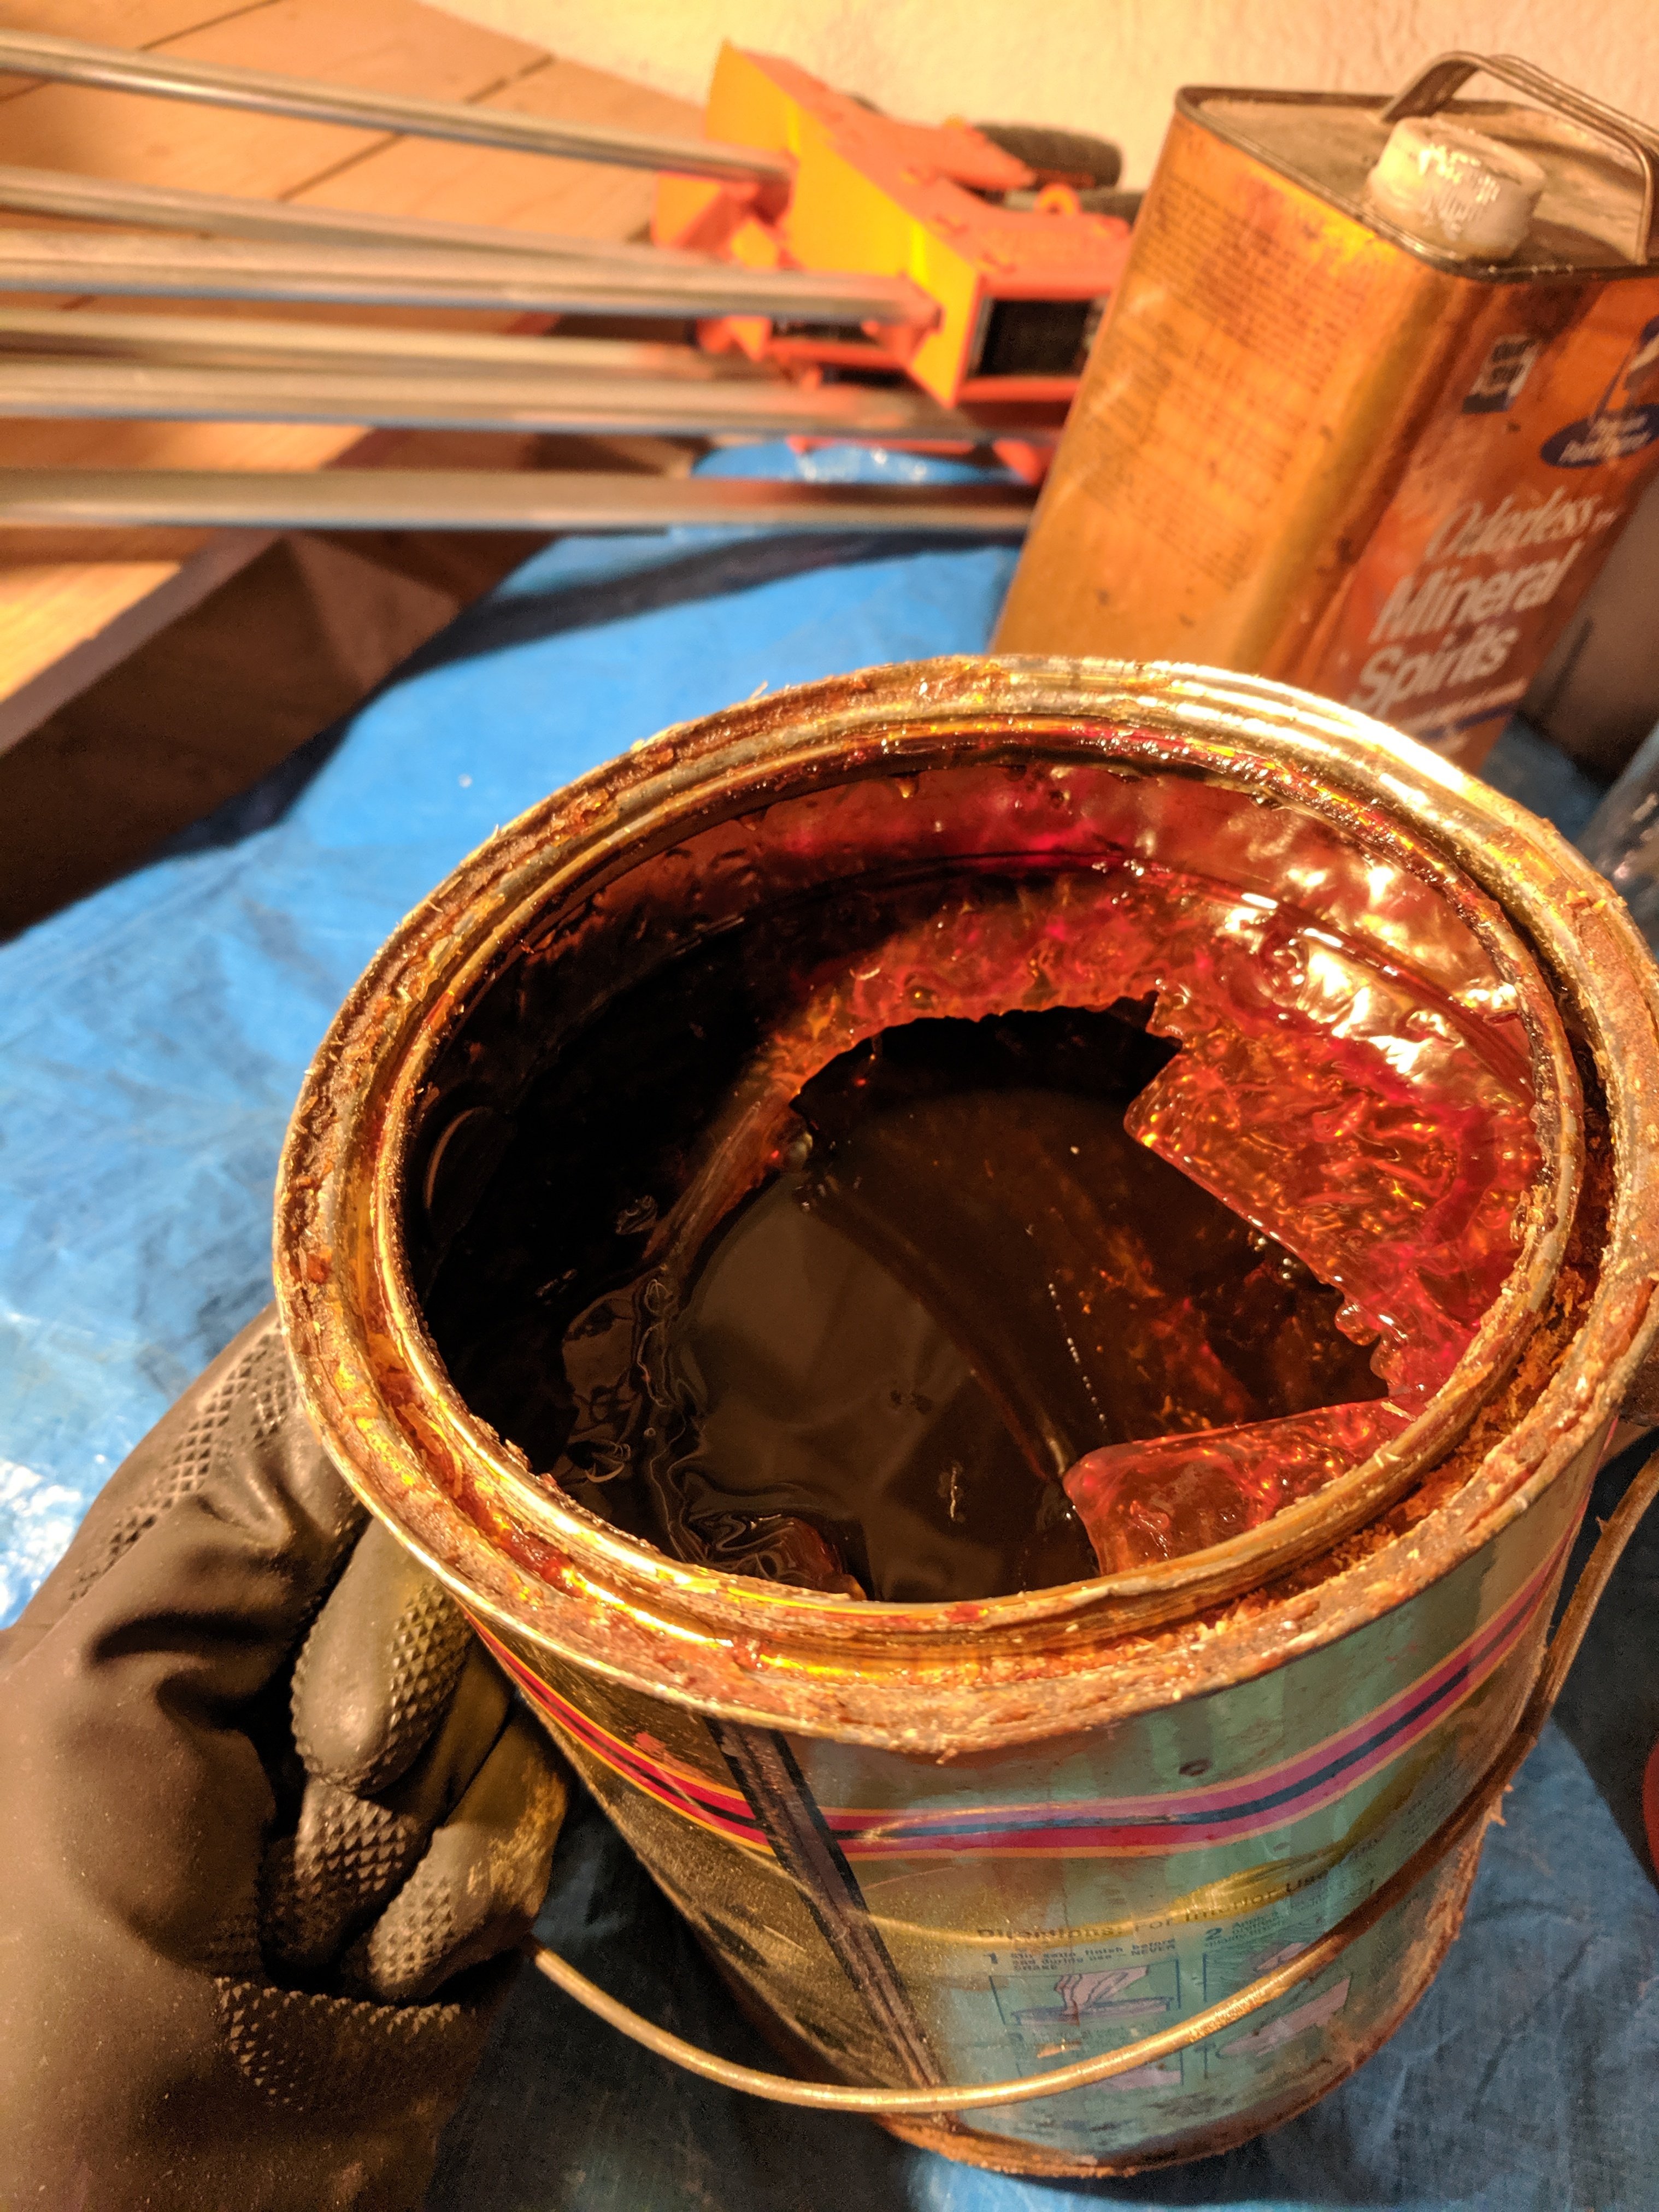
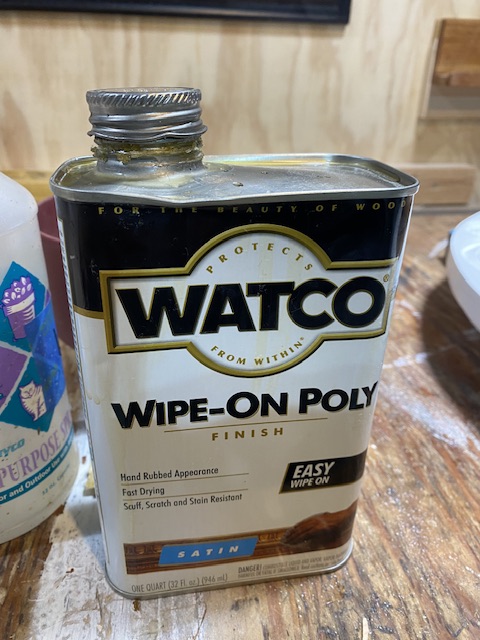
Success using old lumpy polyurethane
by
pageflight
2024-05-14T20:01:08Z
6
93
1
476,000-year-old ancient woodworking discovery rewrites early human history
(
earth.com
)
by
SteveJobs
2024-05-10T00:23:25Z
12
77
0
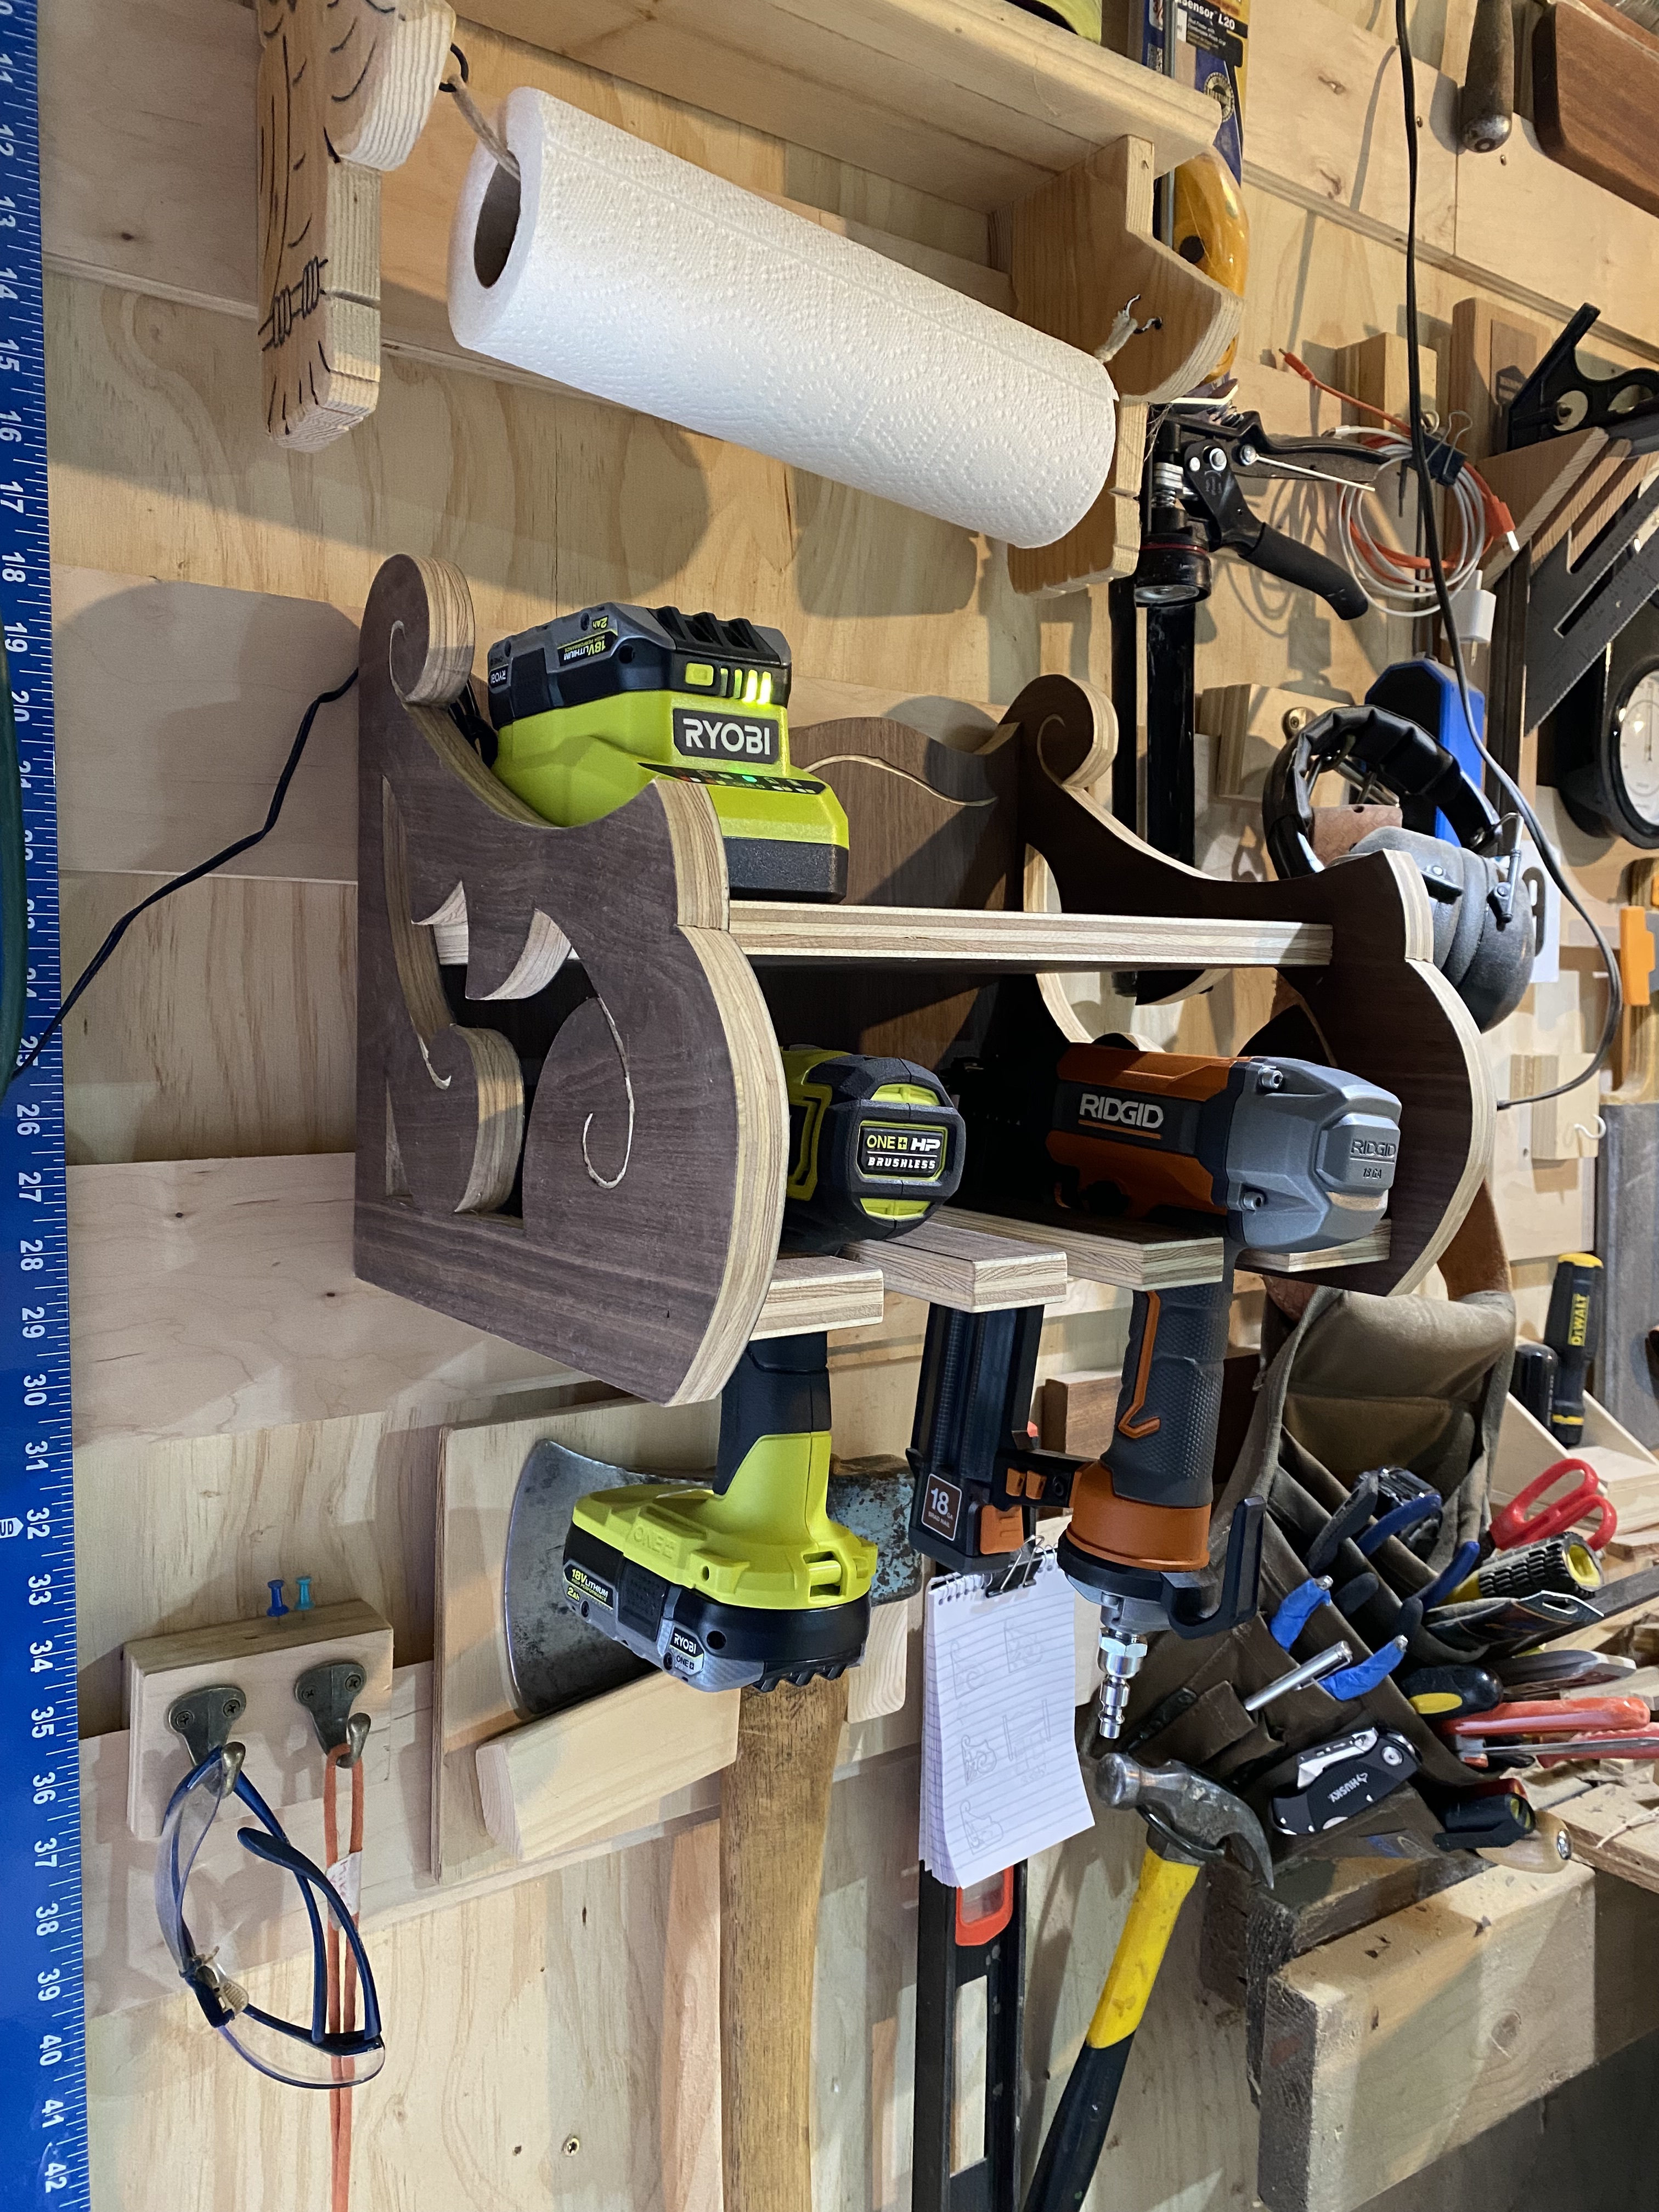
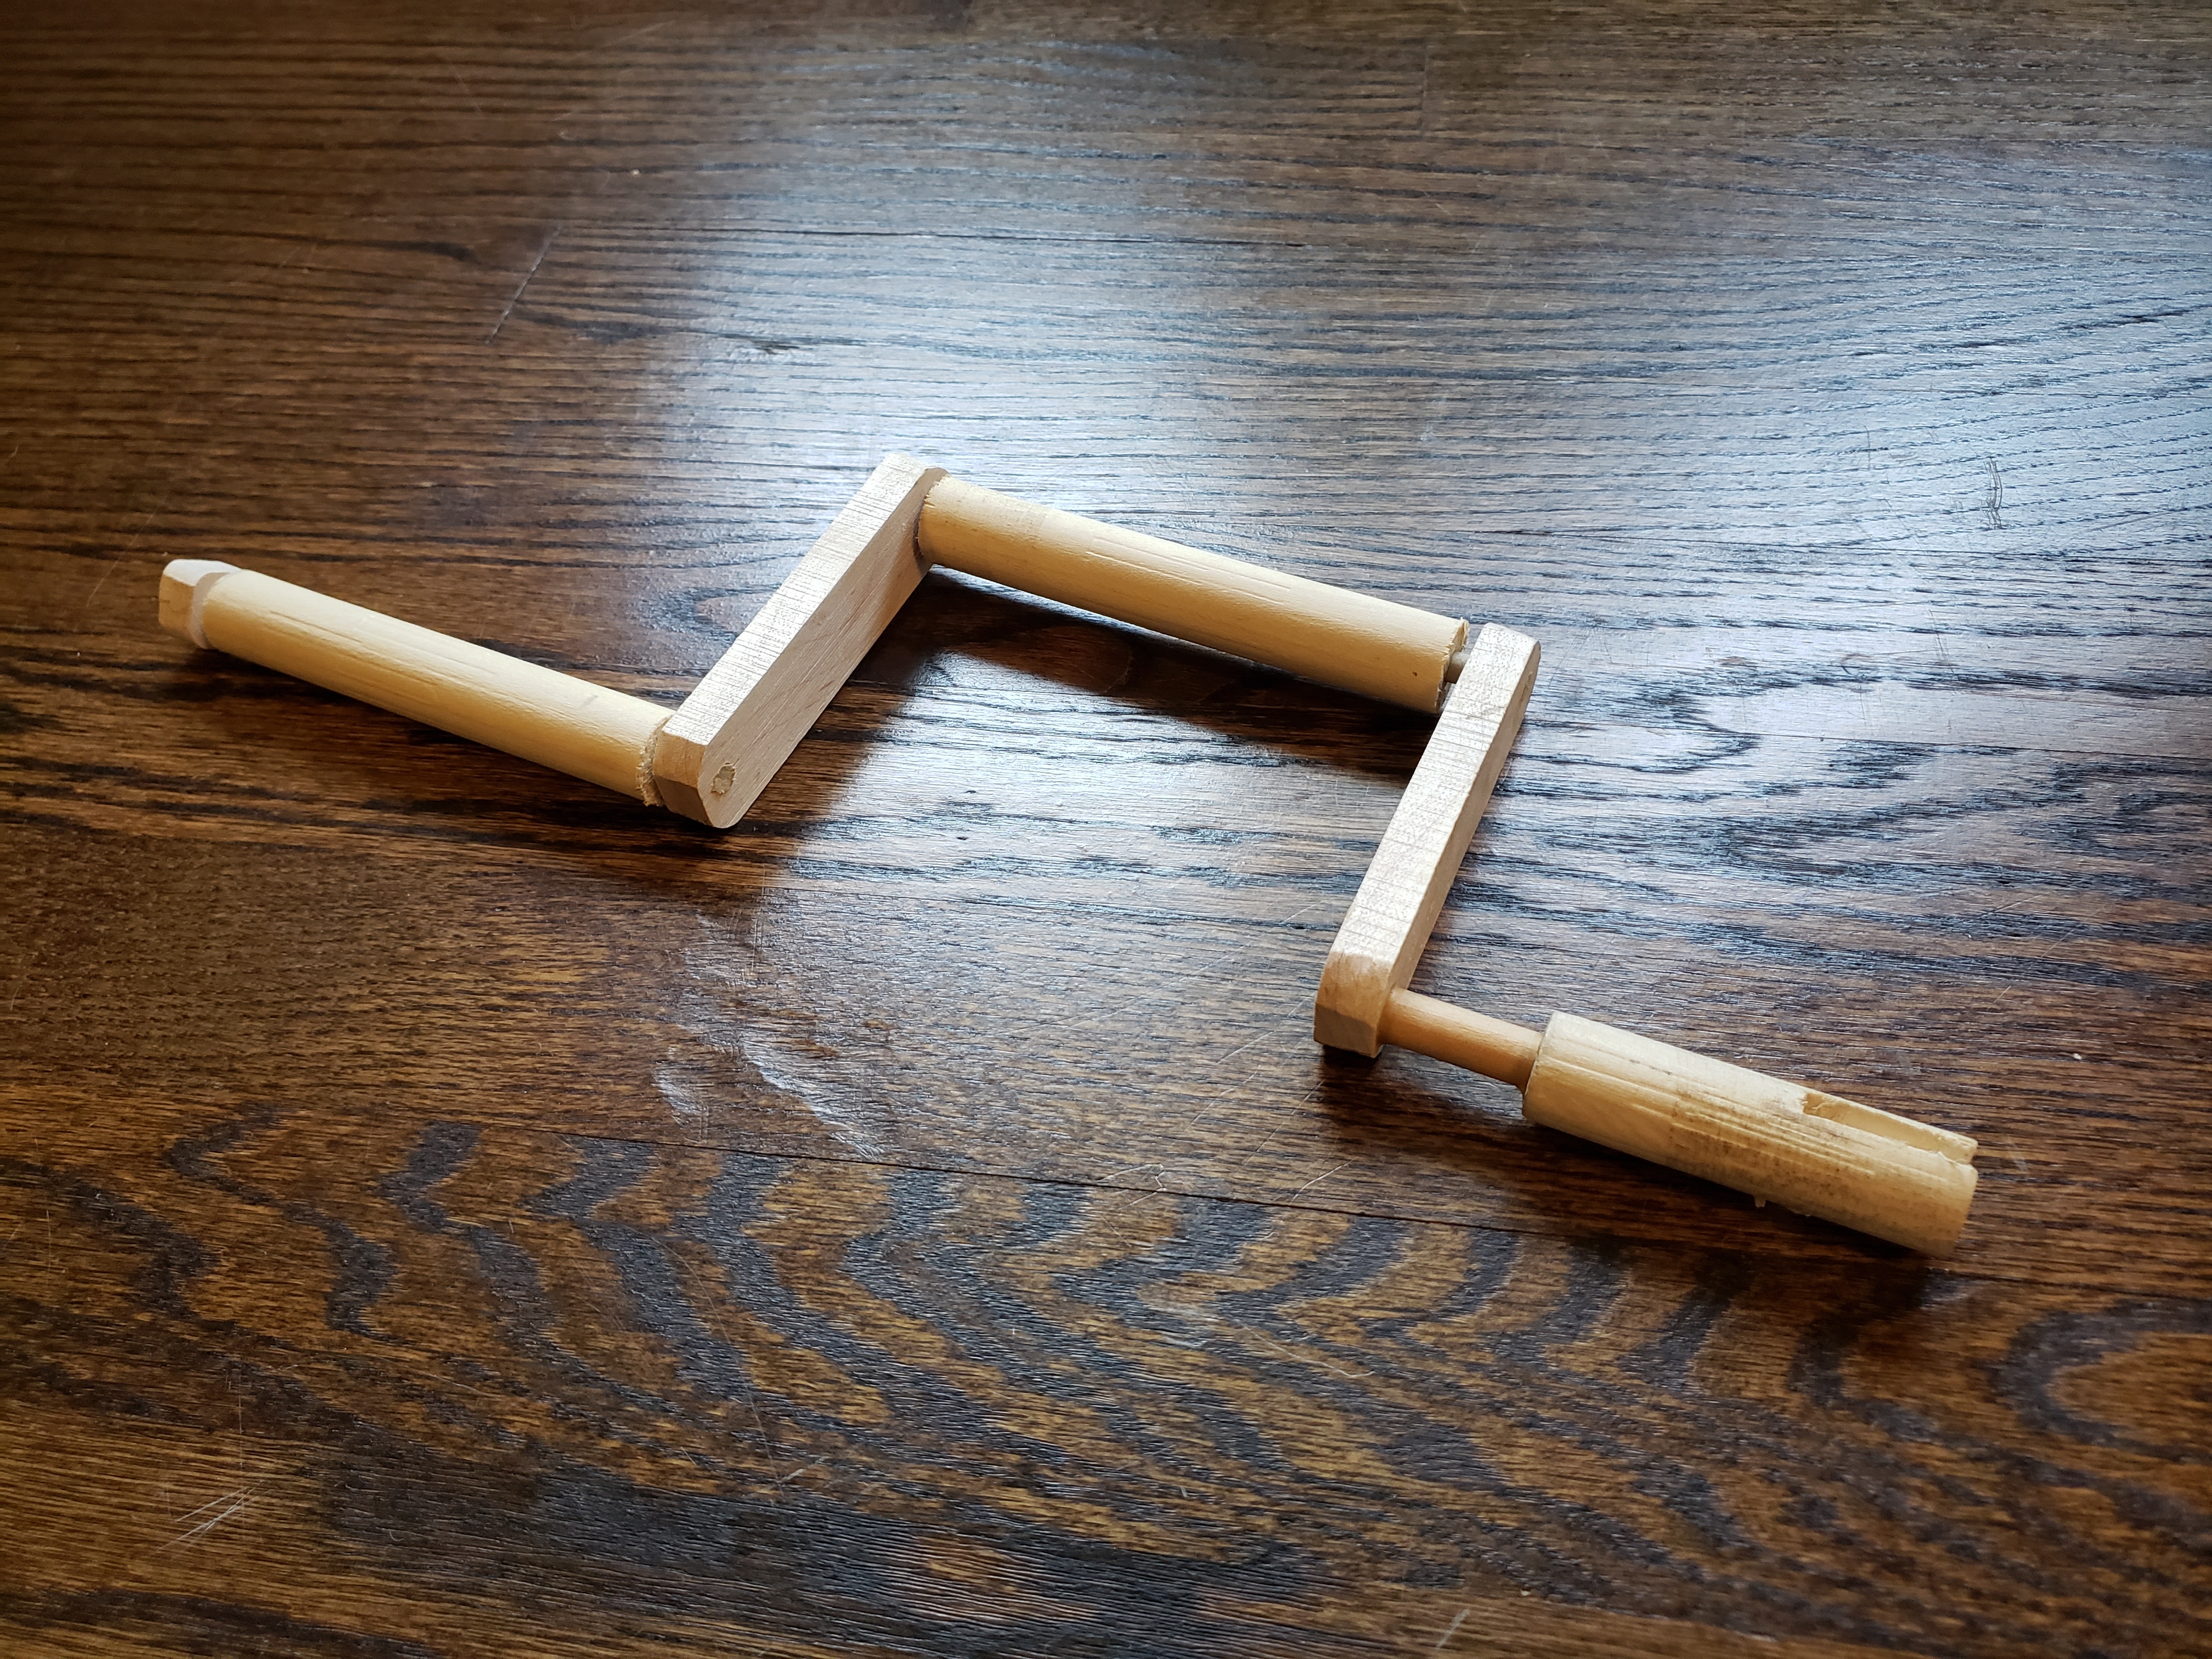
Made another whimsical tool holder with the scraps from my credenza
by
NataliePortland
2024-04-29T16:38:20Z
0
22
0
[WIP] Making an outdoor modular sectional
by
breckenedge
2024-04-29T17:49:05Z
8
29
3
Is this normal? I repaired a DW745 Table Saw
(
youtube.com
)
by
Casey
2024-04-28T03:31:25Z
20
105
1
Oak Bowl w/ Reishi mushroom
by
_t_o_
2024-04-27T23:03:53Z
5
146
6
Red Oak Bowl
by
_t_o_
2024-04-27T22:52:52Z
13
197
3
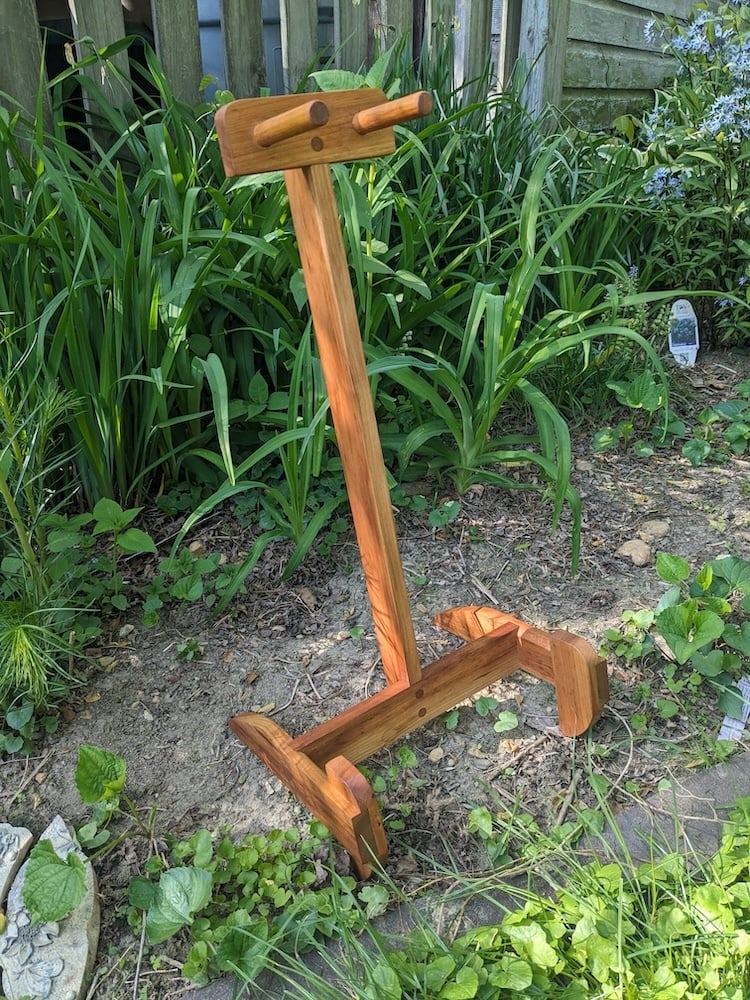
A simple guitar stand
by
AMillionMonkeys
2024-04-27T15:42:16Z
17
20
0
Question for Metalworkers
by
brownmustardminion
2024-04-26T14:28:36Z
4
151
3
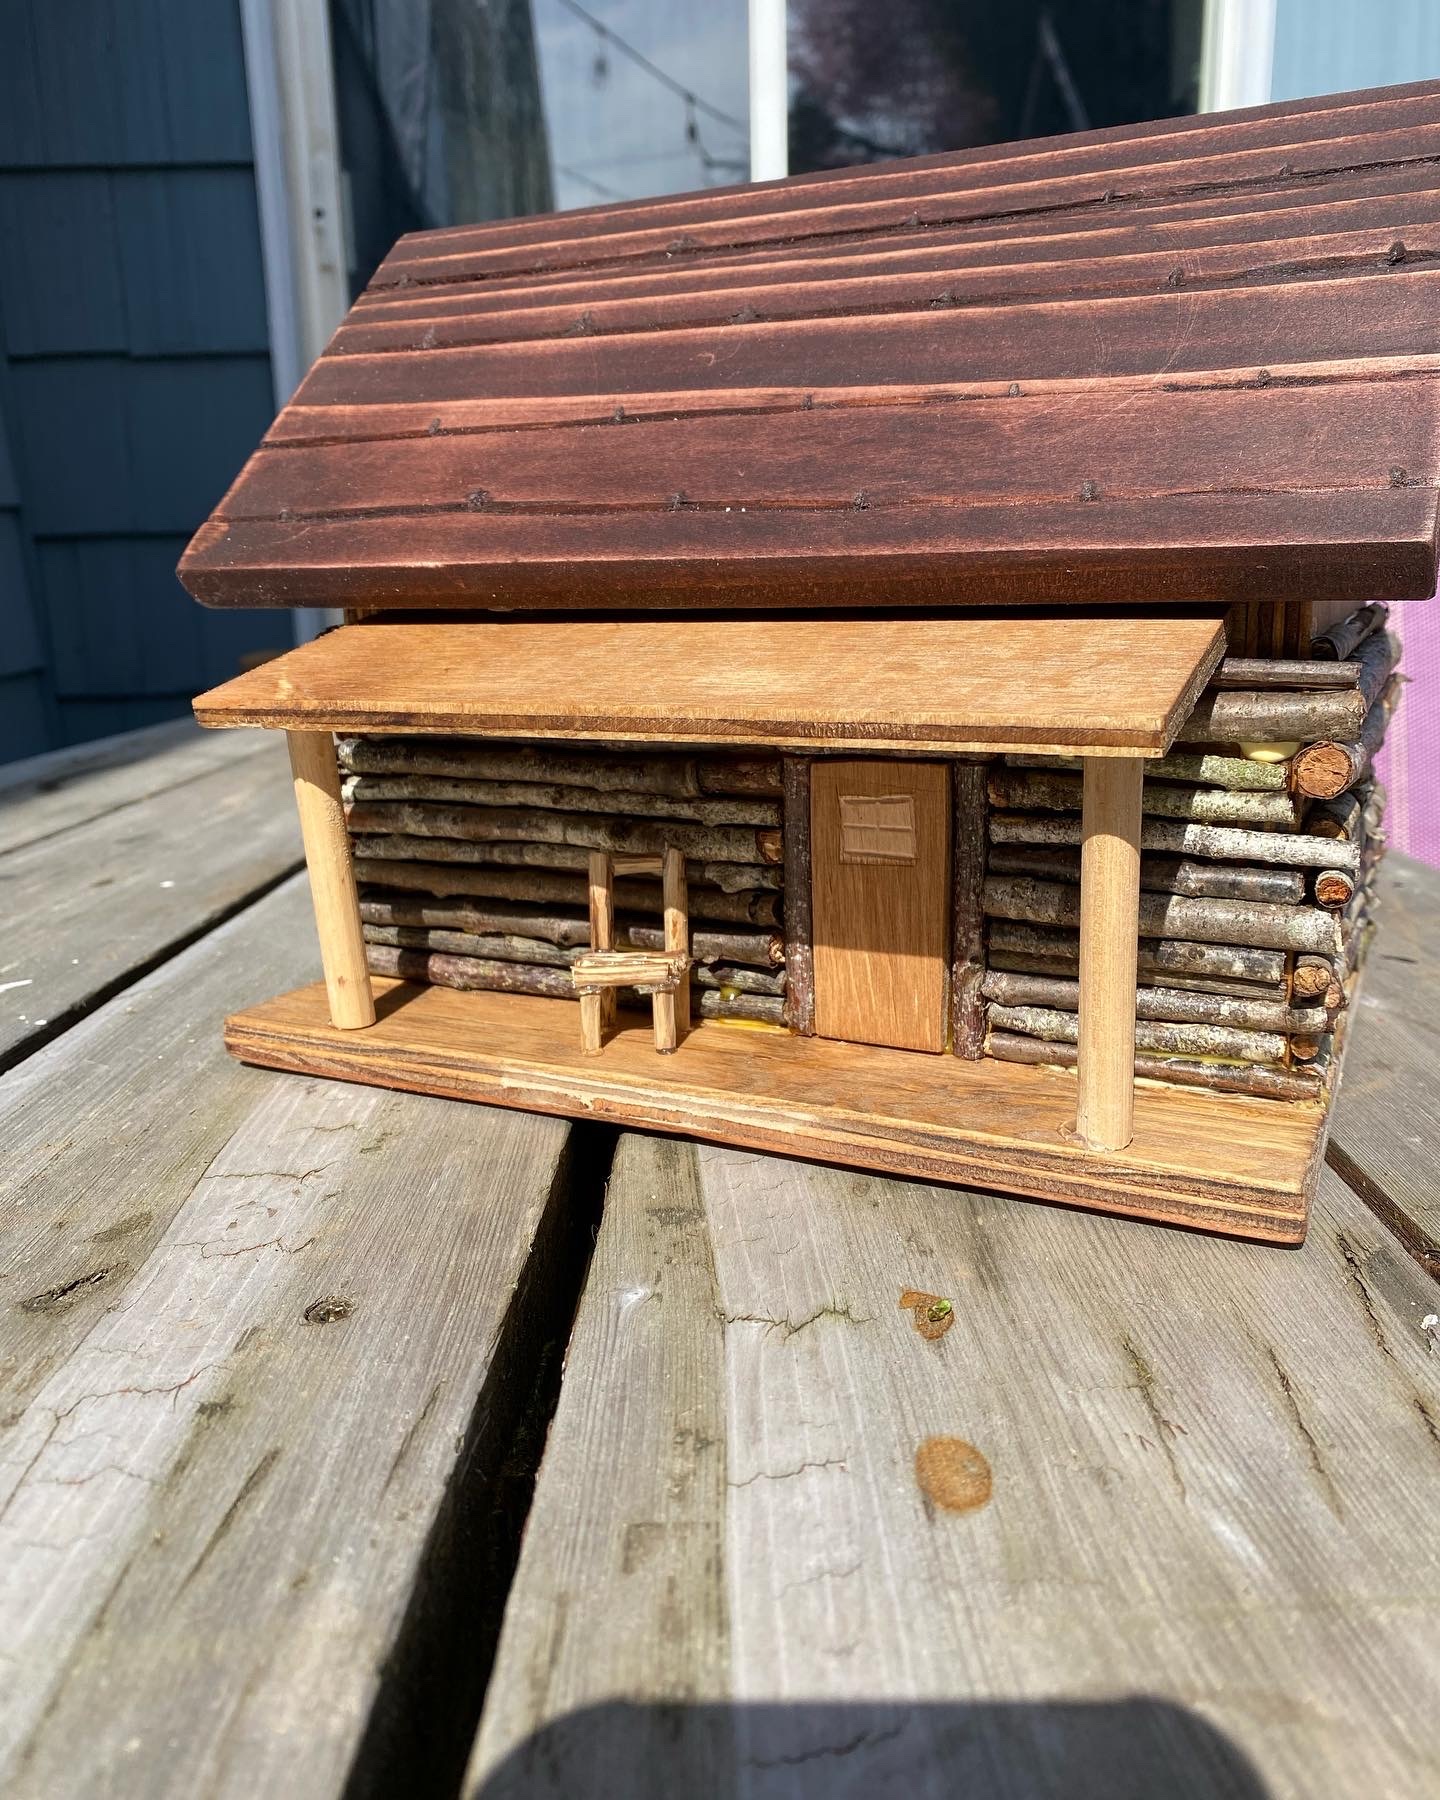
First little project as a beginner
by
bistdunarrisch
2024-04-23T18:05:20Z
17
122
5
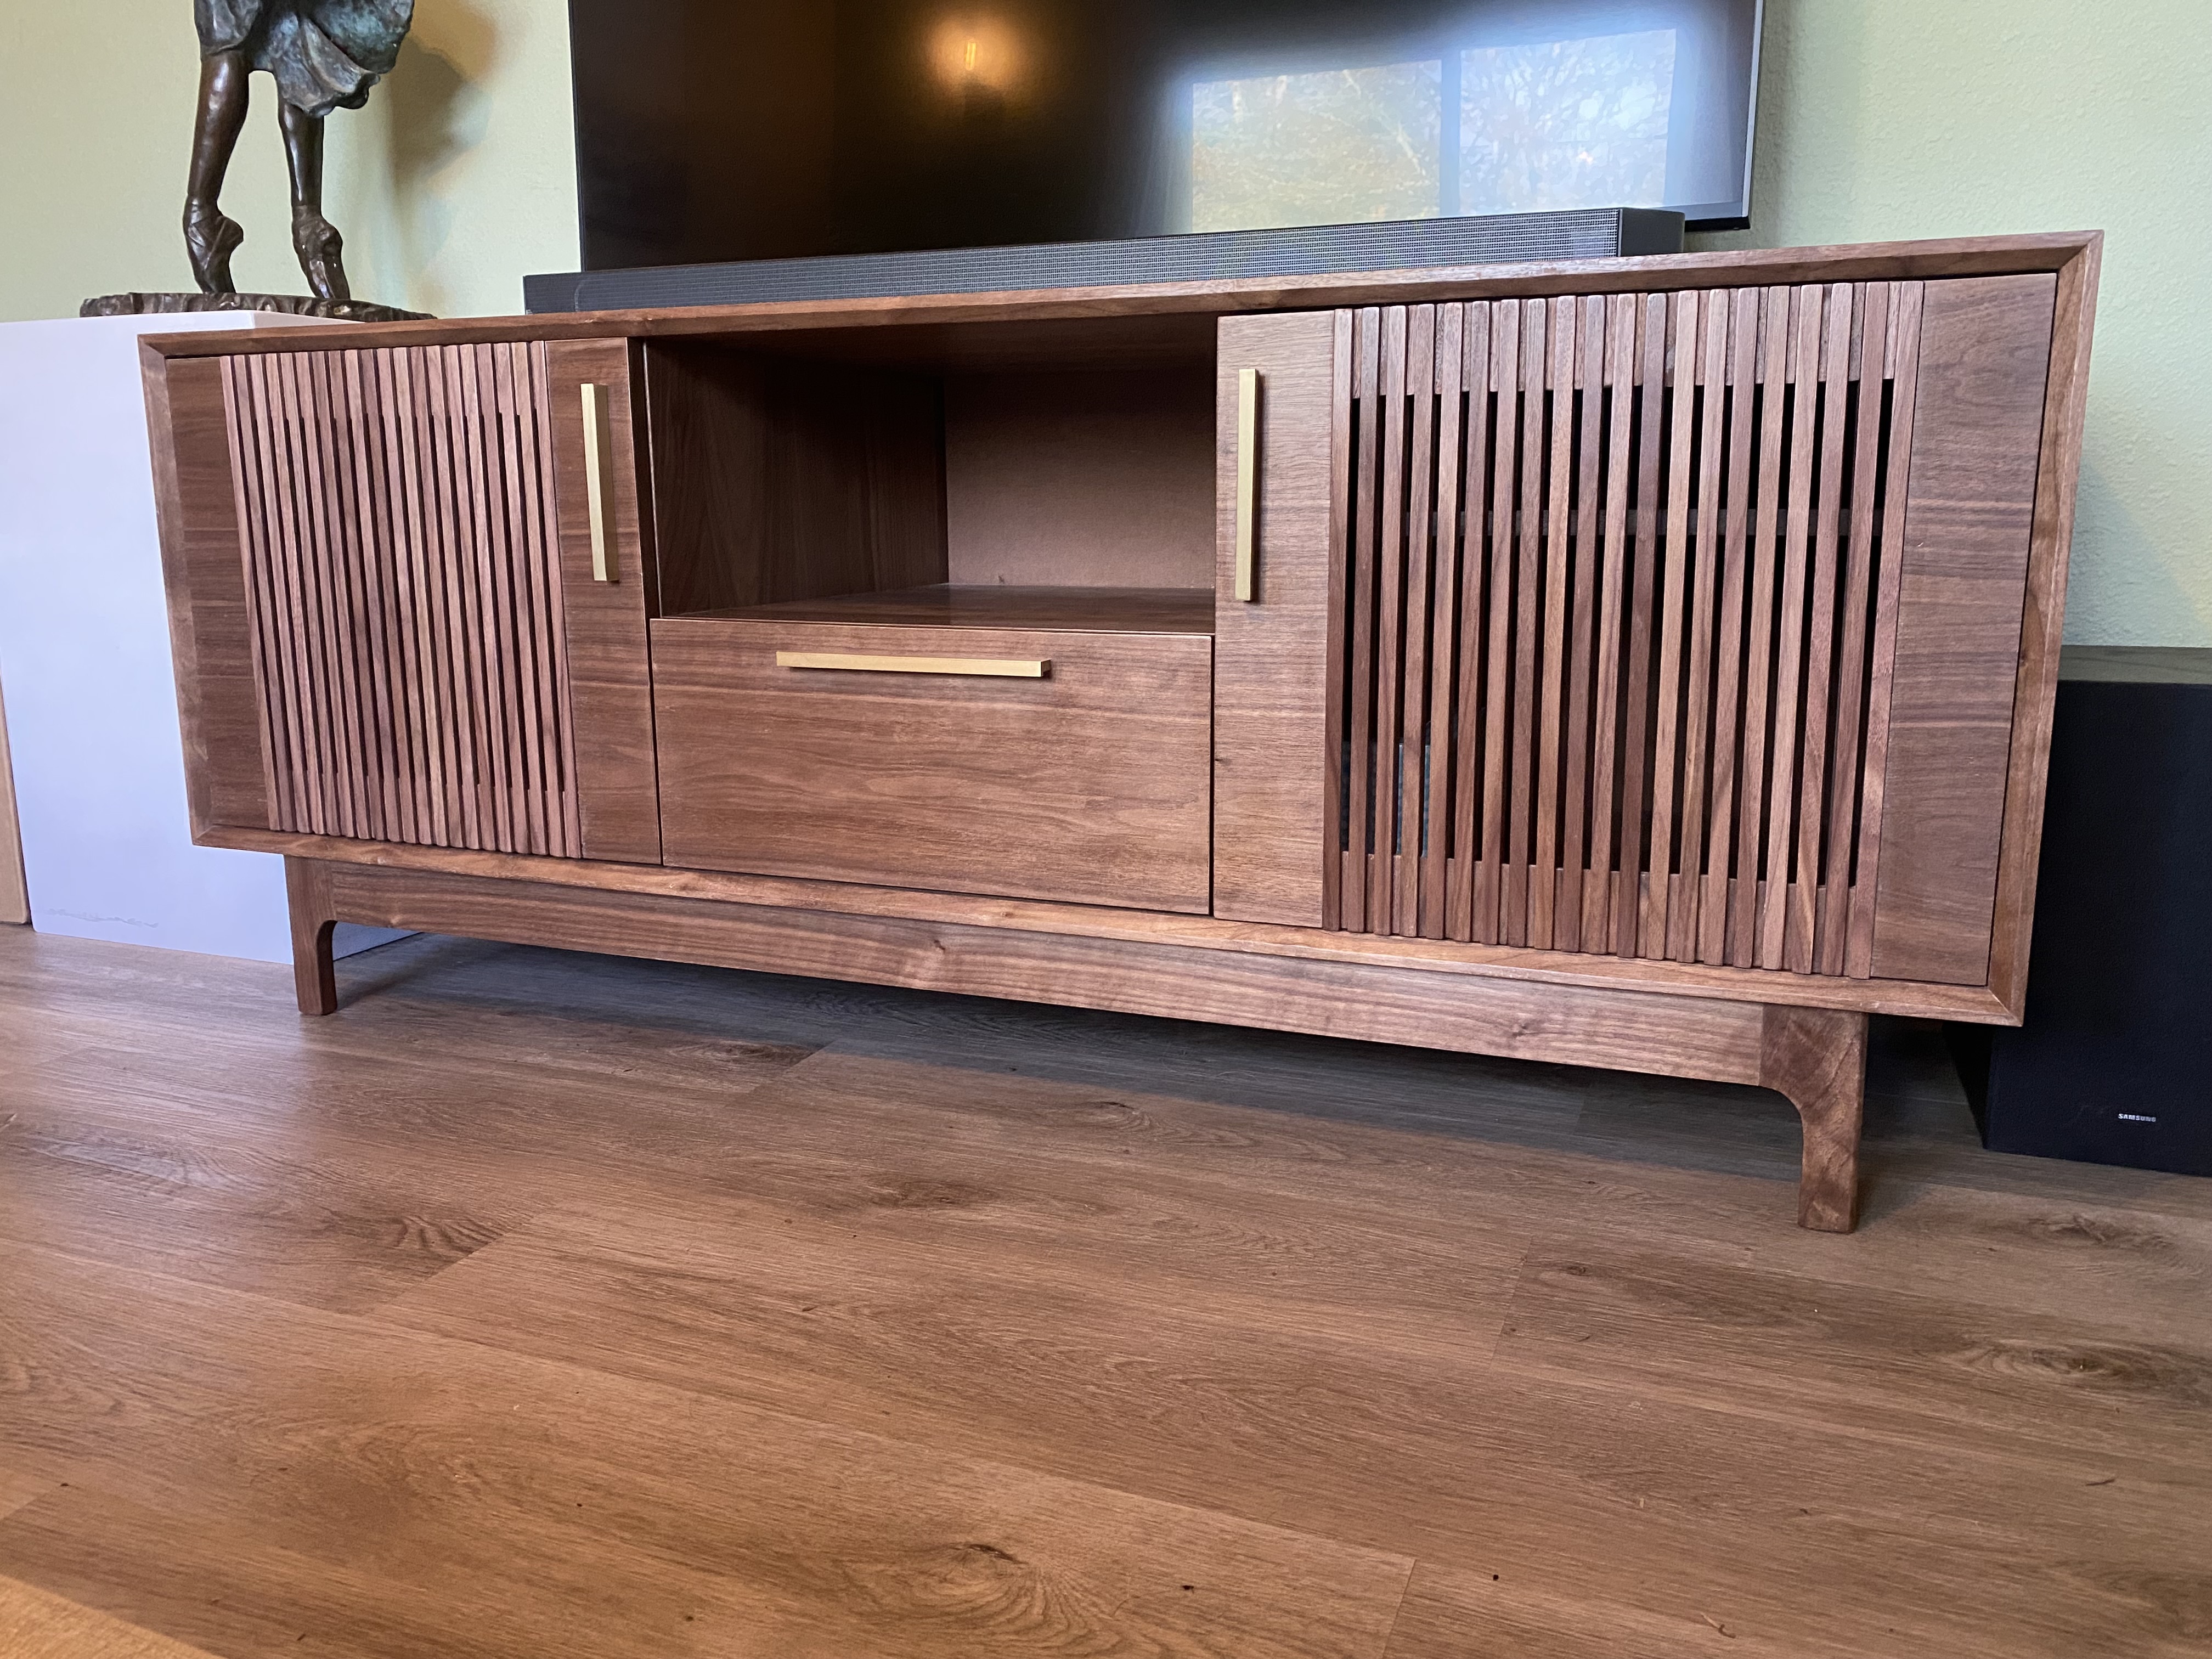
I got professional photos done for my credenza. Hoping to start selling furniture. What do you think?
by
NataliePortland
2024-04-23T15:19:03Z
16
177
9
I love making fun French cleats for my tools. Here’s some of my favorites
by
NataliePortland
2024-04-20T03:55:23Z
10
38
2
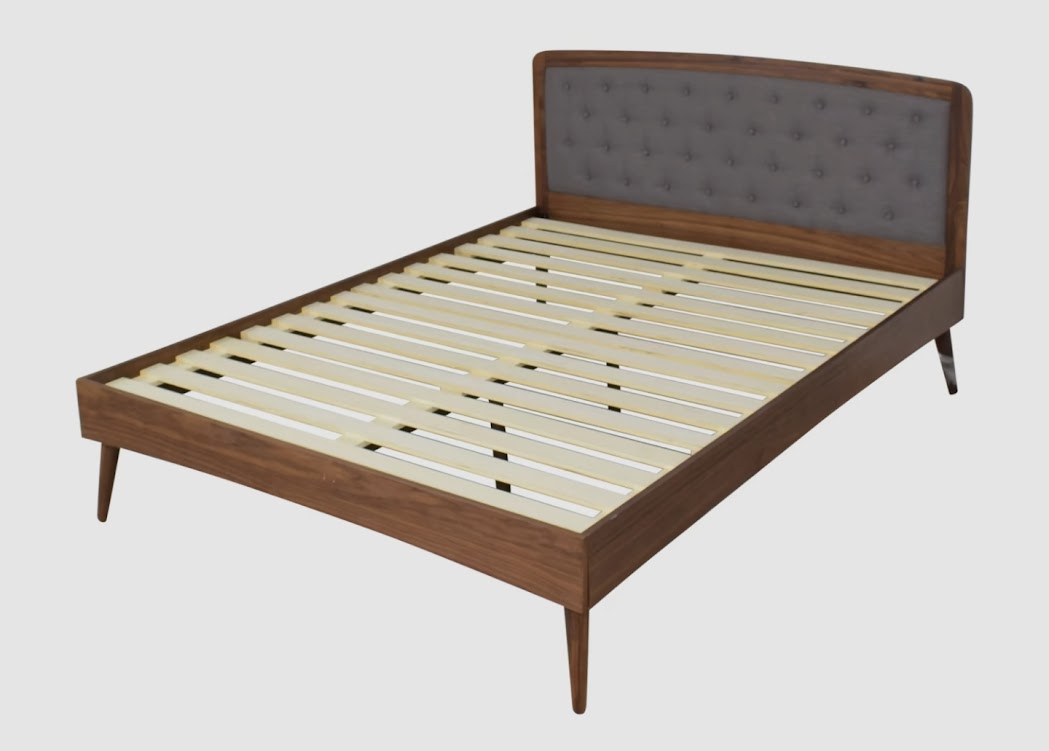
Looking for plans to make a custom king sized bed
by
CanadianCorhen
2024-04-19T19:18:29Z
10
25
0
Scrapwood print-frame, 30x40 cm
by
wjrii
2024-04-15T00:00:58Z
0
197
0
I heard we are doing walnut credenzas now. Made this one for my brother for Christmas.
by
DontHurtMe23
2024-04-14T14:50:13Z
17
77
0
A little shelf for our growing plant collection 🌿
by
Unicorn 🌳
2024-04-14T09:57:58Z
2
223
2
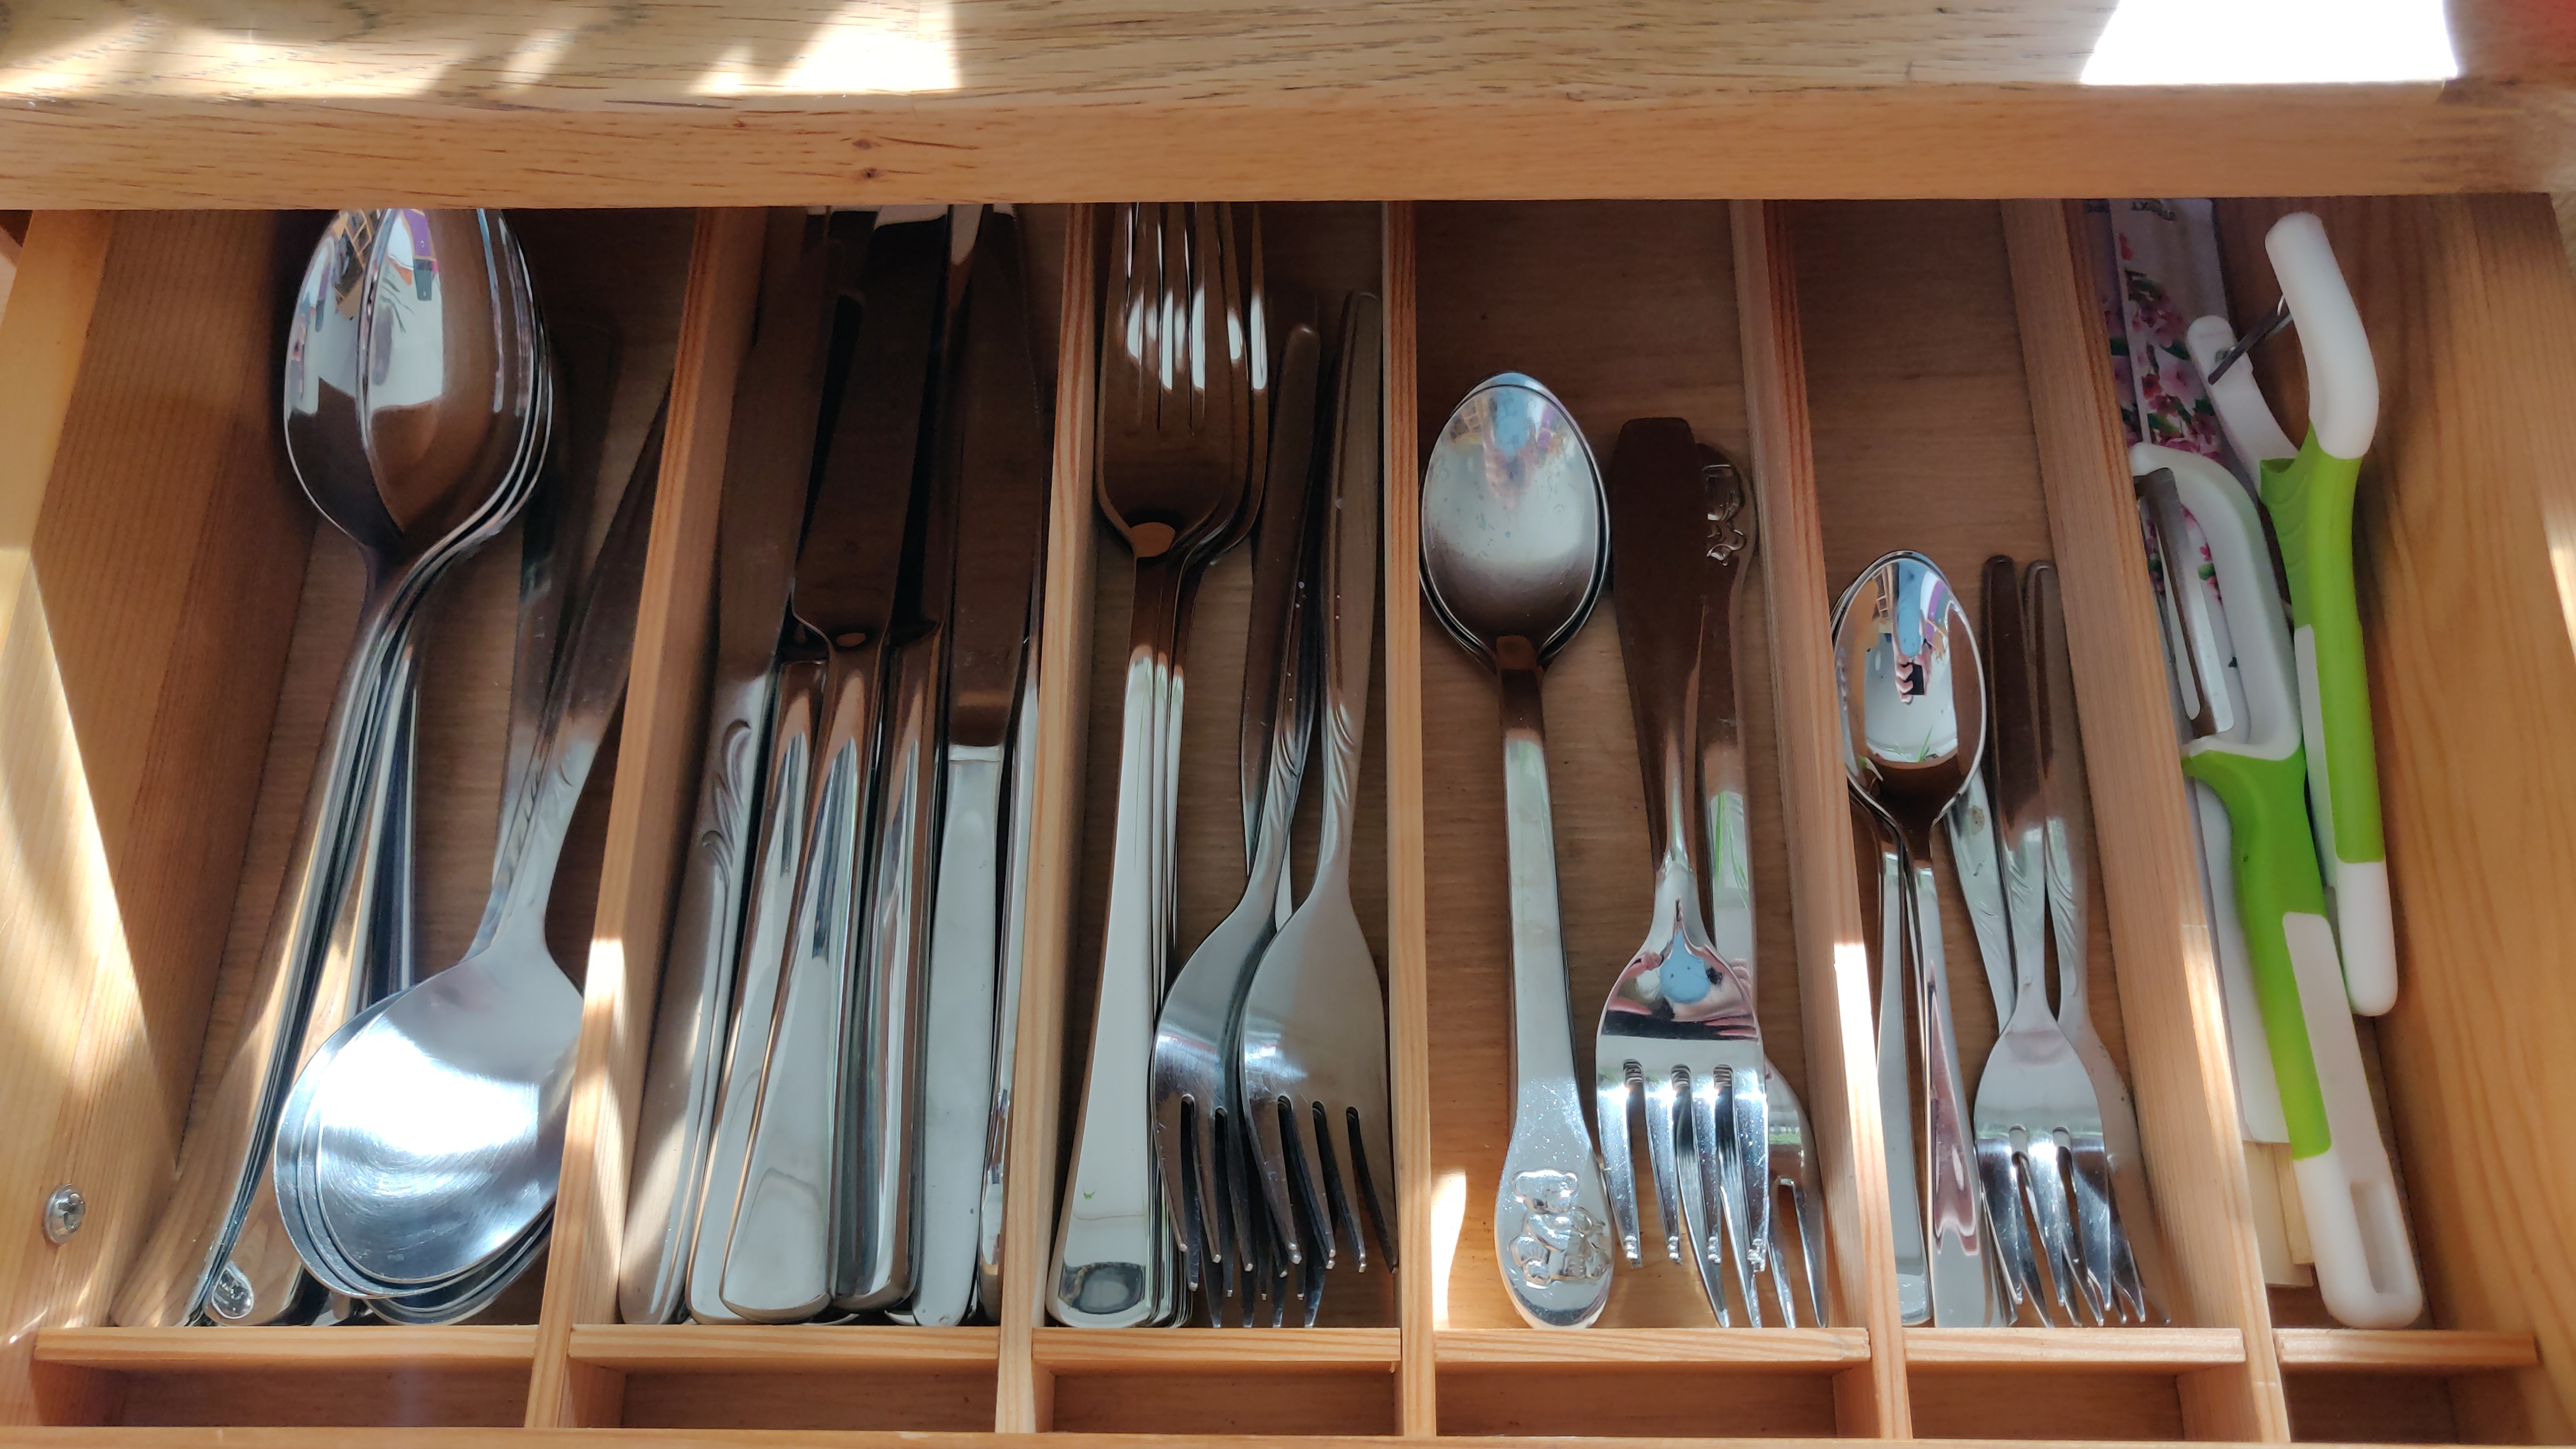
I made a cutlery divider! 🍴🥄
by
Unicorn 🌳
2024-04-14T09:31:18Z
20
47
0
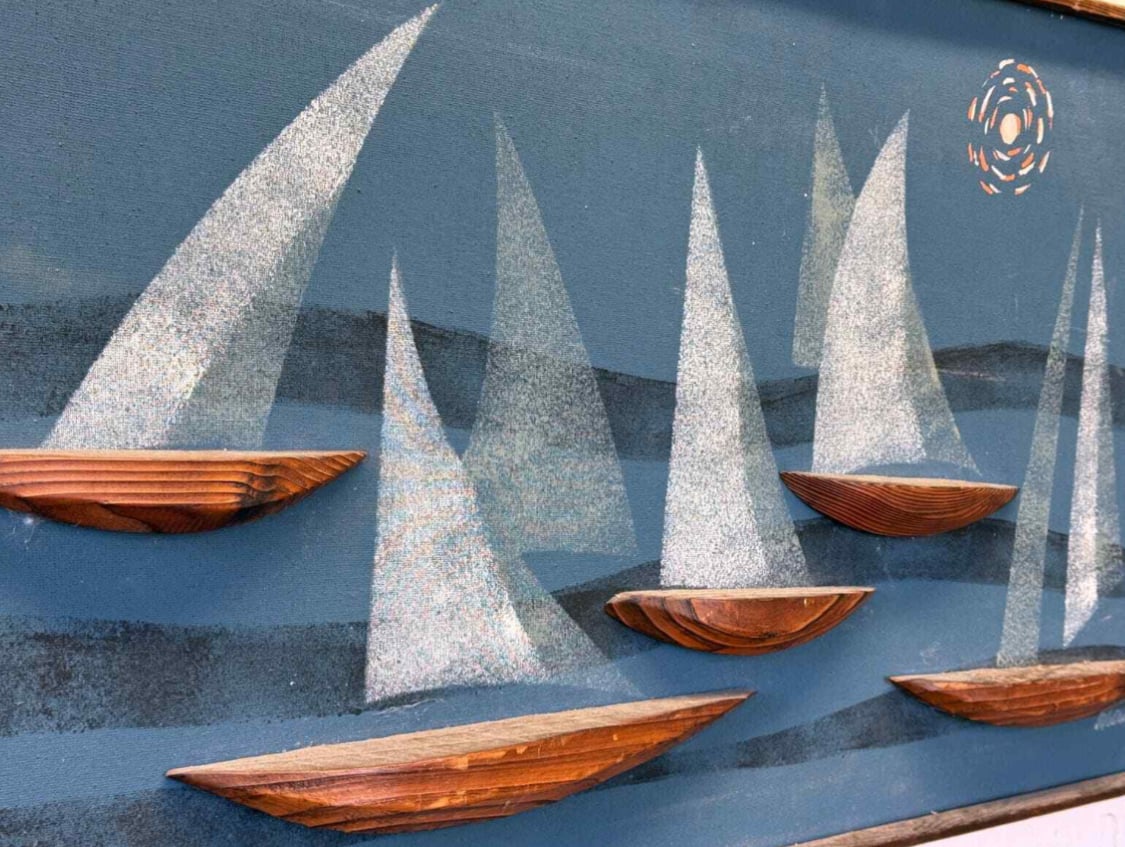
Witco Boat Mixed Media
by
yedfixy
2024-04-14T01:24:24Z
0
297
1
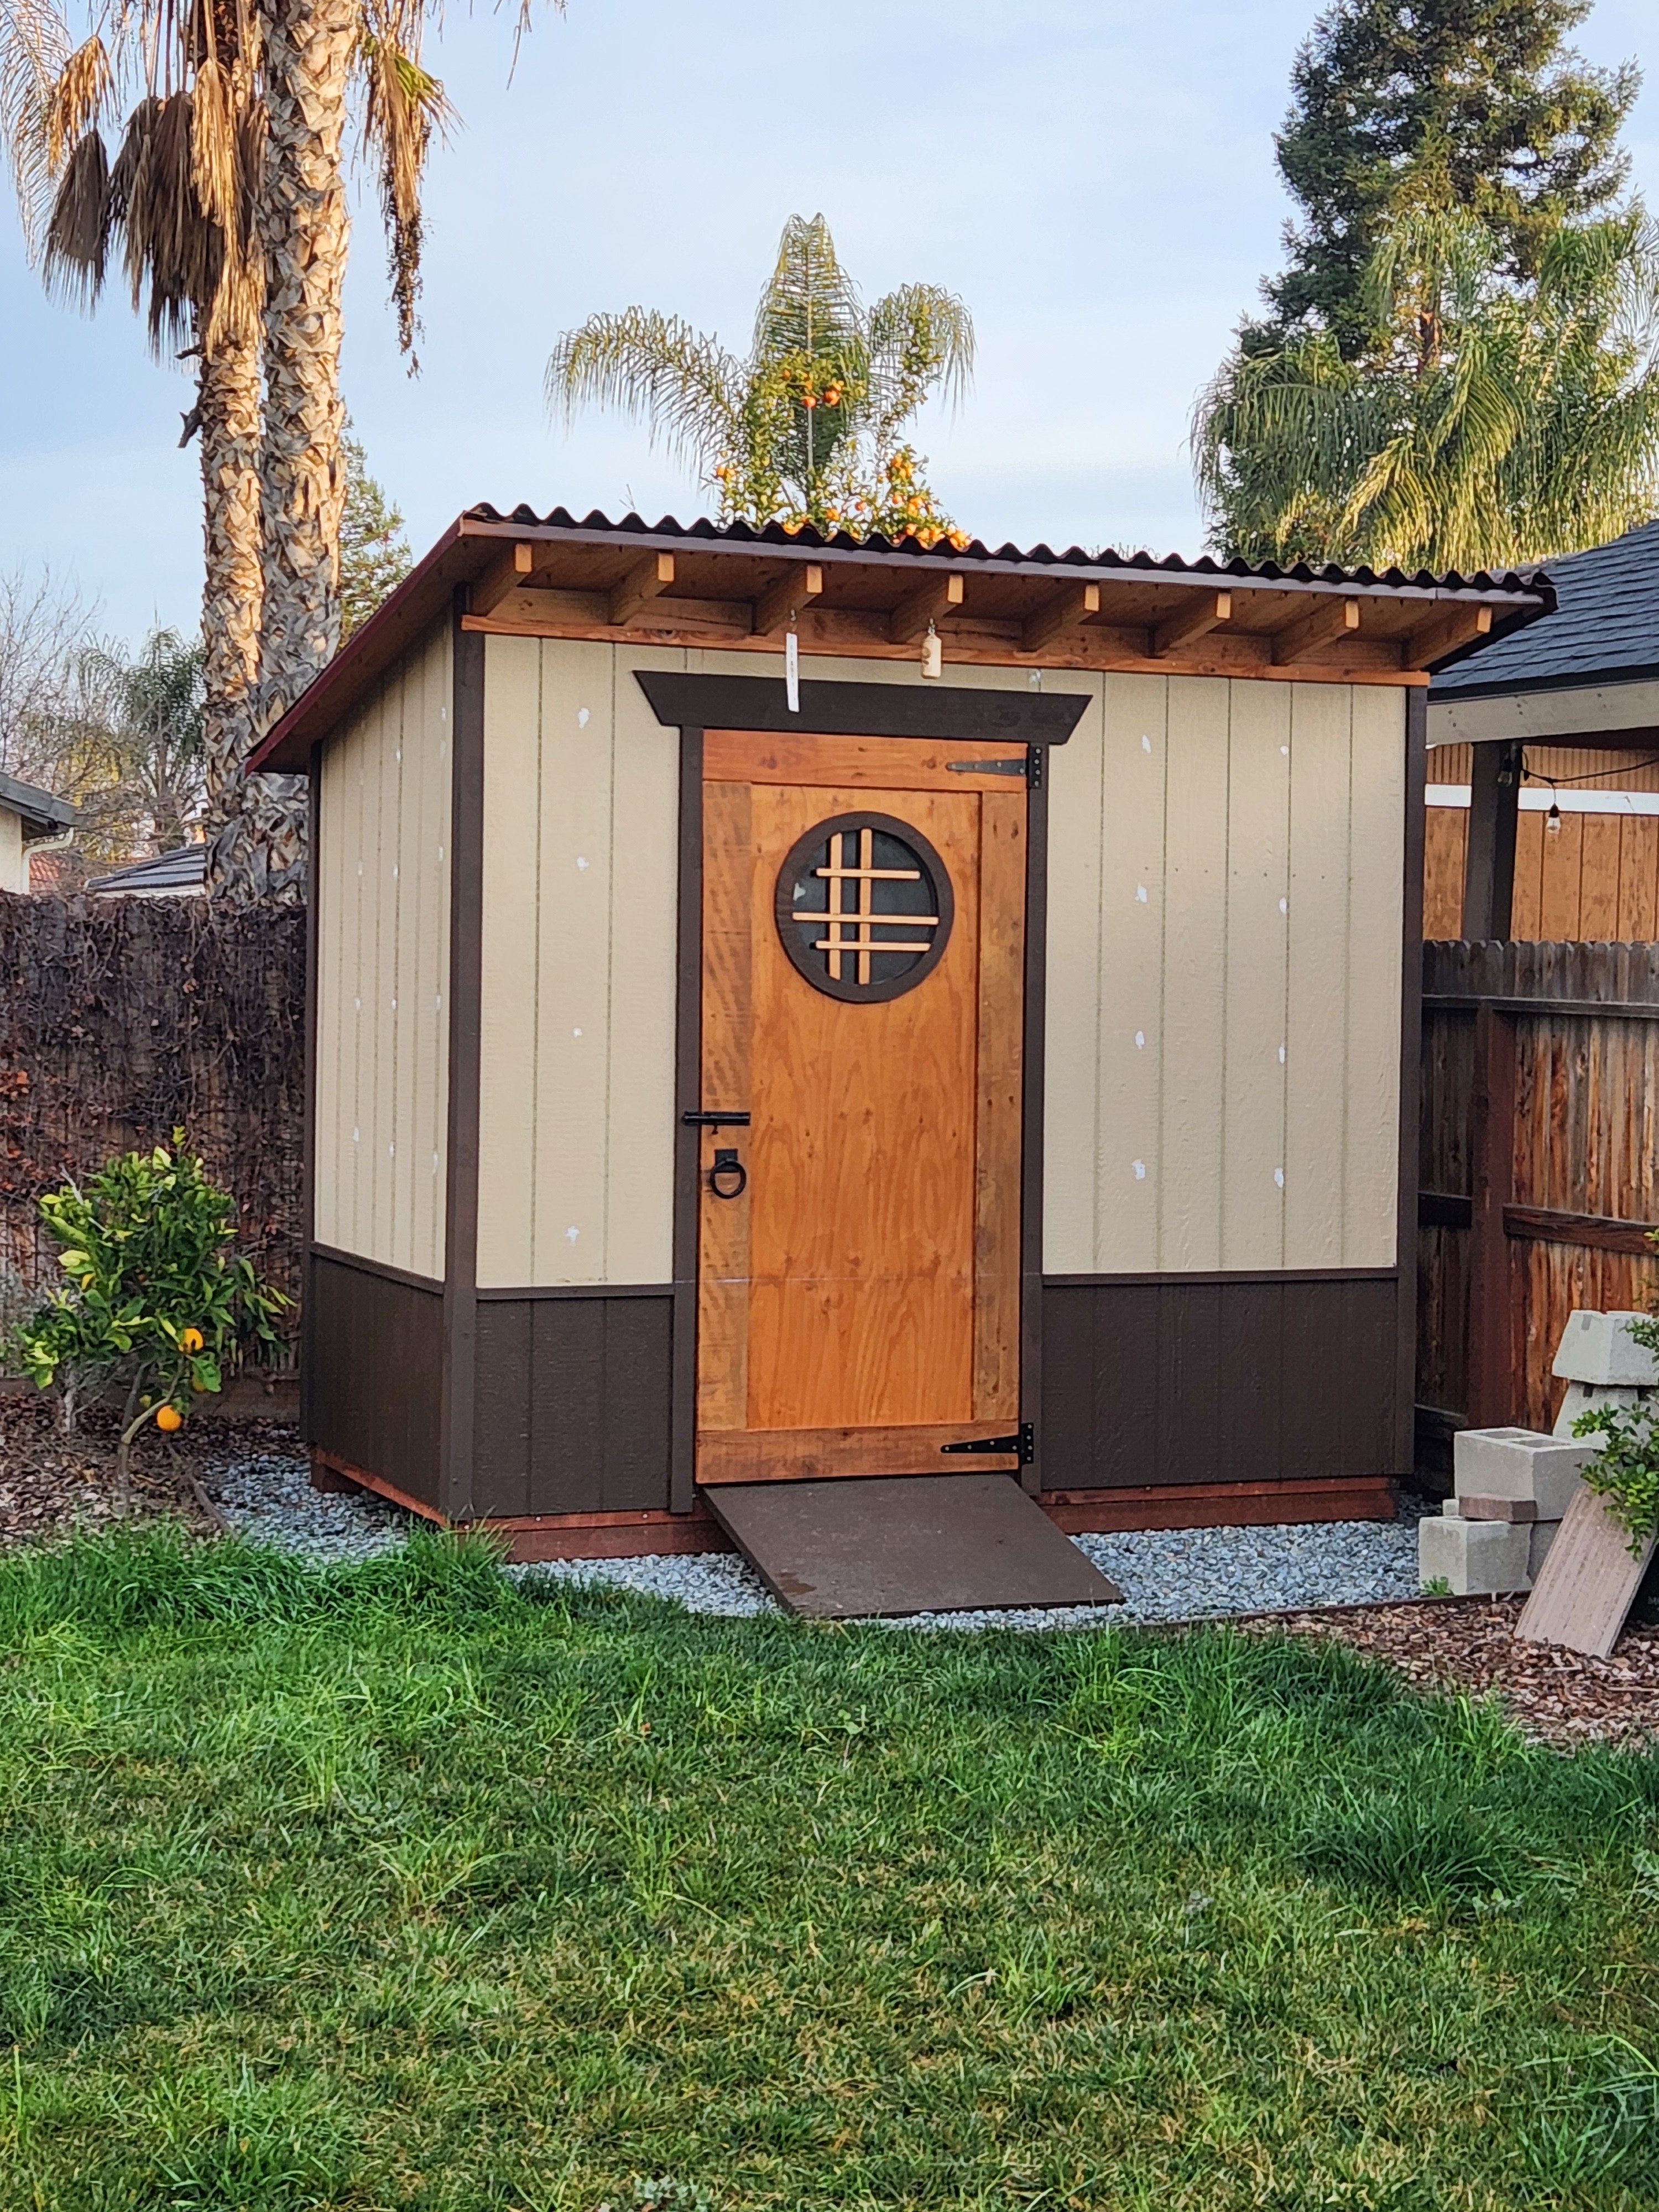
Japanese style lean to shed update
by
PlantDadManGuy
2024-04-13T19:07:15Z
37
747
7
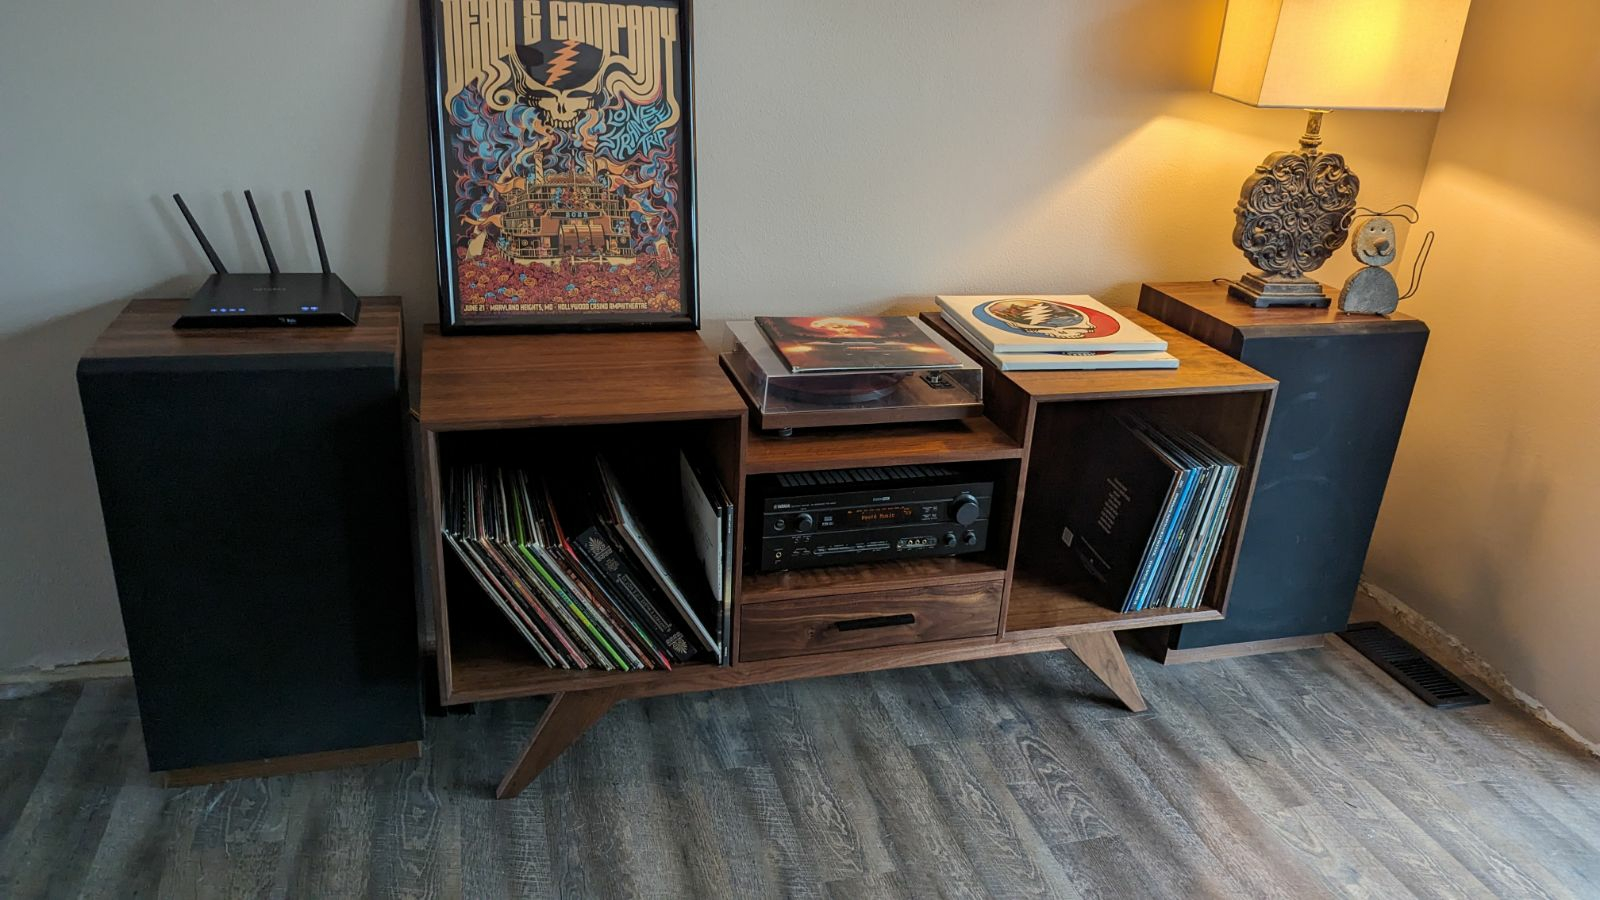
Walnut credenza! It took me all winter to build. I’m so proud of it!
by
NataliePortland
2024-04-11T20:38:05Z
43
161
4
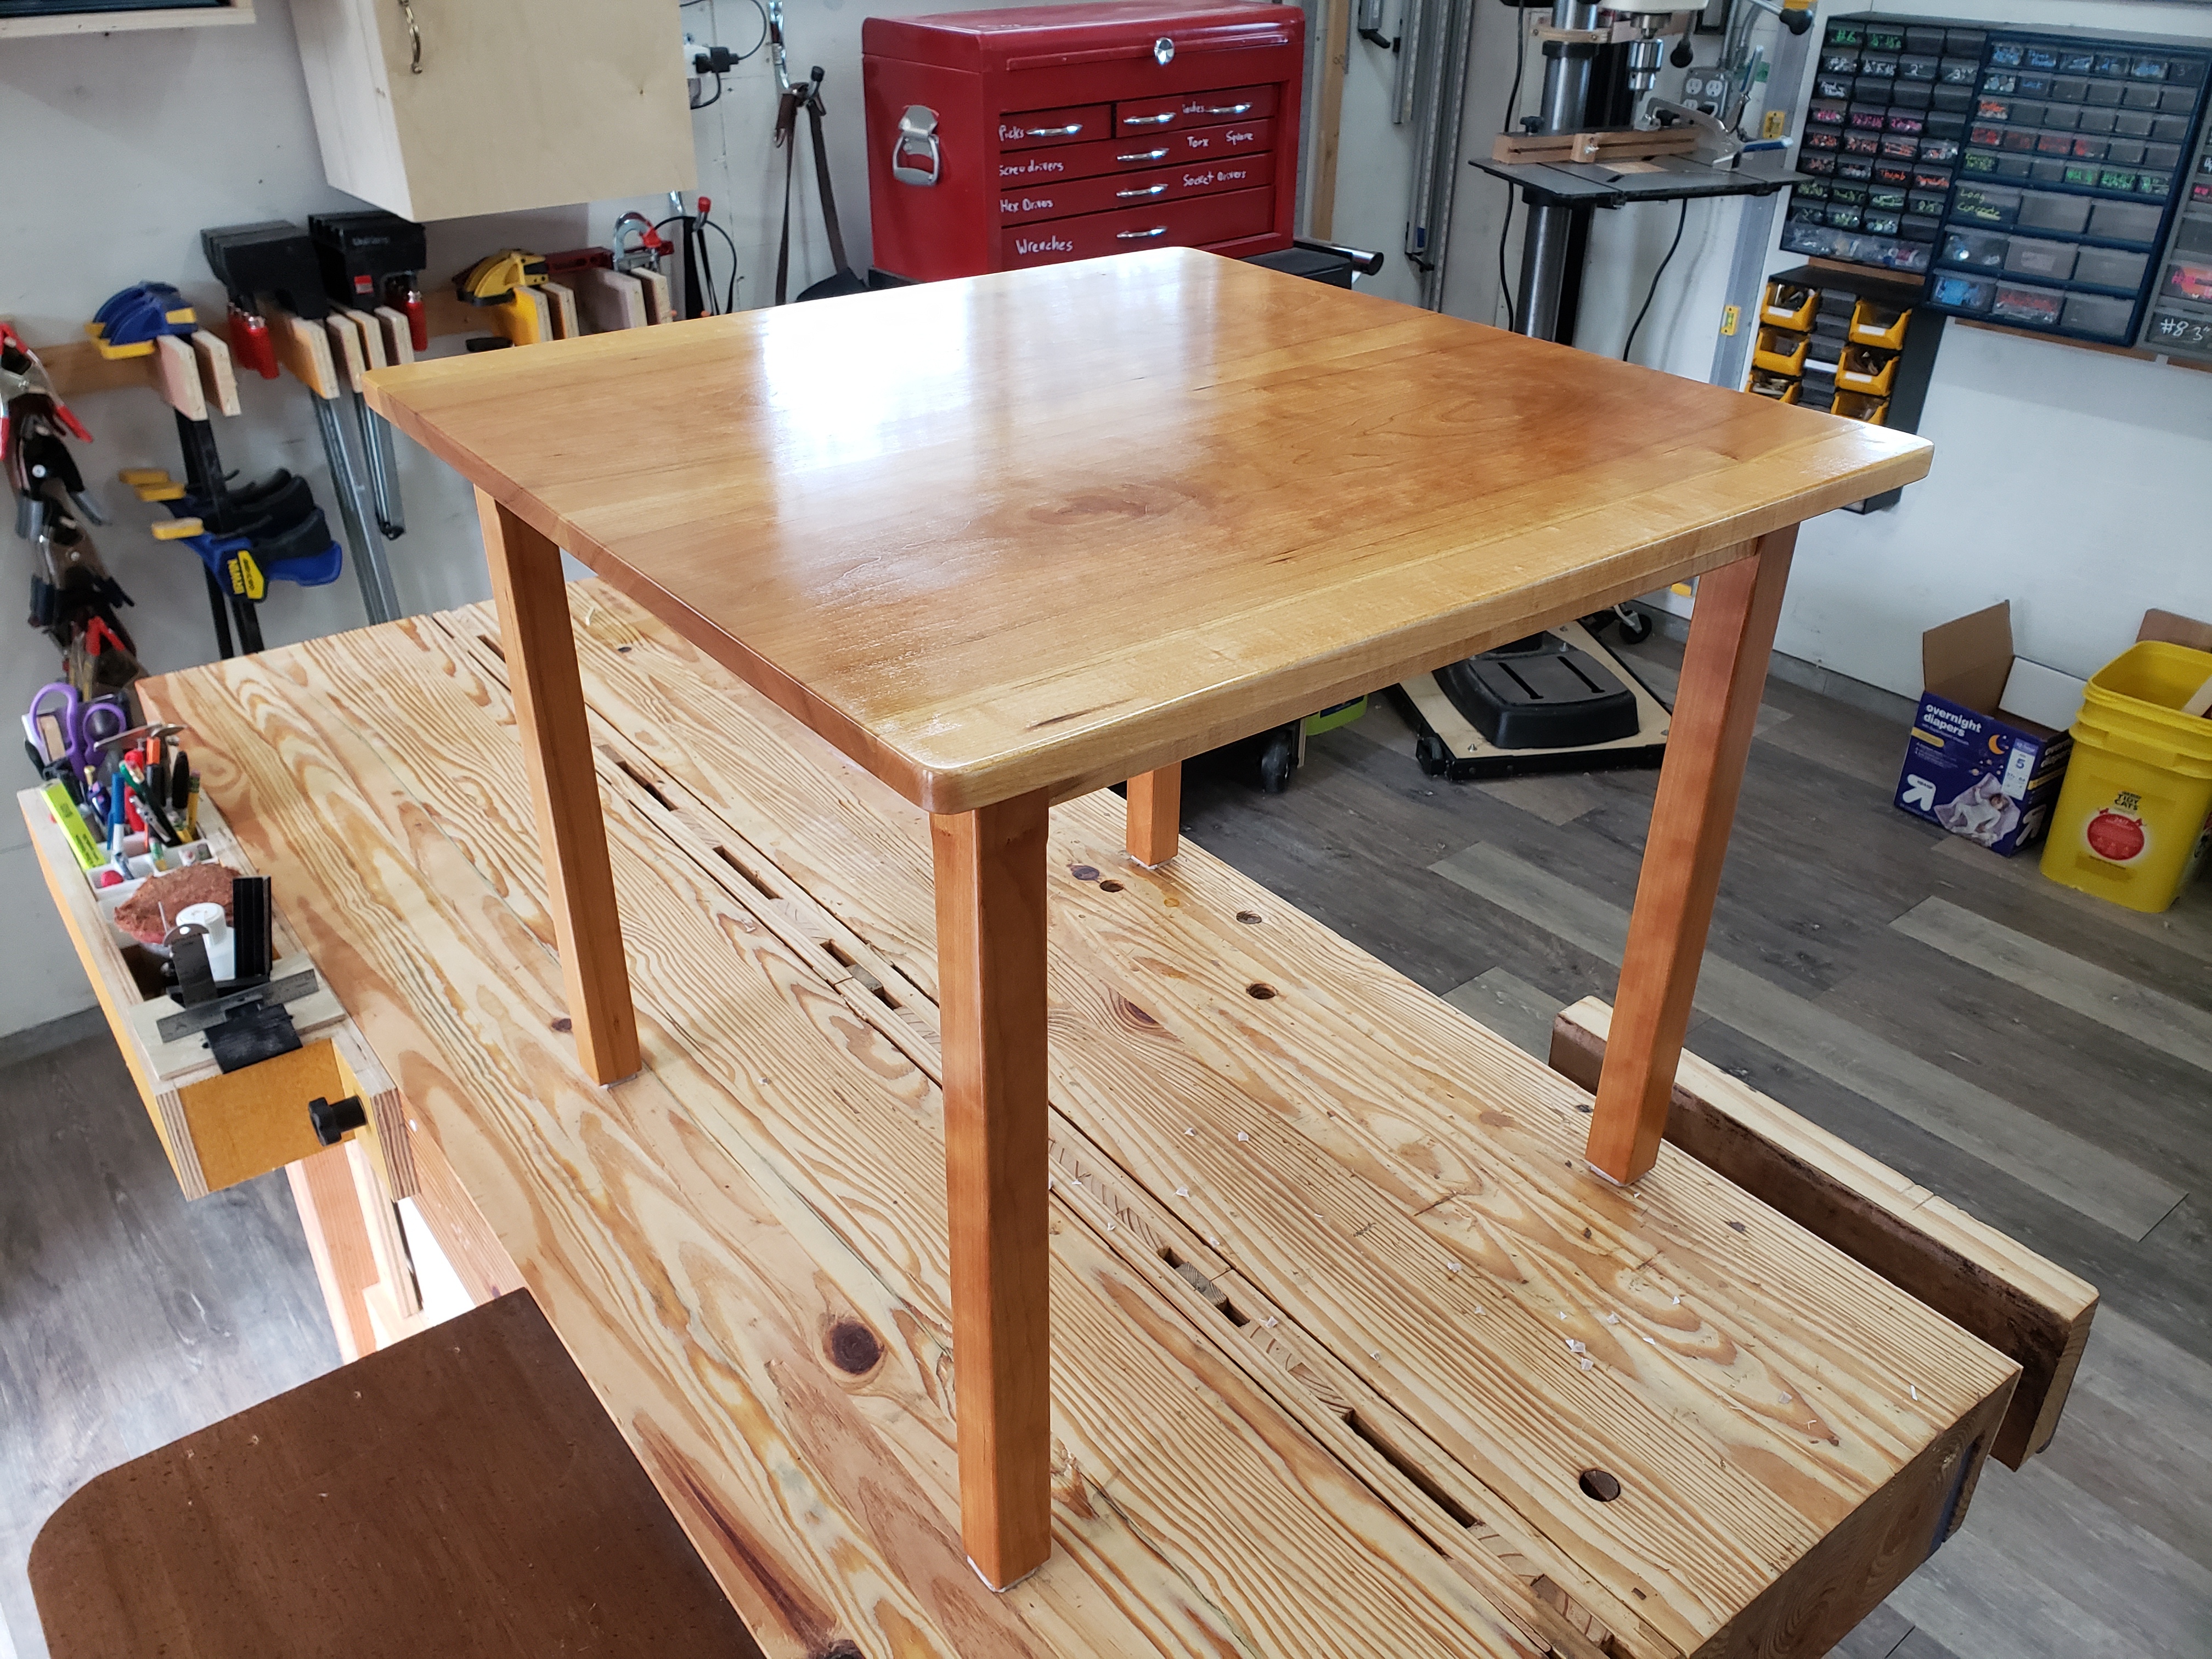
I tabled again
by
Captain Aggravated
2024-04-10T23:25:06Z
15
143
2
first completed wood project
by
loopy
2024-04-07T19:08:00Z
11
29
0
Would hickory be good for making handles for files?
by
BlitzoTheOisSilent
2024-04-06T03:28:38Z
6
81
0
Coffee table with 3D printed lugs
by
simbico
2024-04-05T15:00:13Z
10
17
0
Shellac then burn or vice versa?
by
loopy
2024-04-03T16:50:42Z
6
112
0
Maple awl handles made as a beginner project on my ShopSmith lathe
by
pageflight
2024-03-29T03:04:38Z
8
26
0
Table Saw recommendation?
by
gibmiser
2024-03-21T21:17:27Z
32
22
0
[Answered]Is there a wood hard enough to regularly scrape aluminum?
by
idiomaddict
2024-03-21T20:23:32Z
36
20
0
Table Saw Fences in 2024?
by
brownmustardminion
2024-03-20T14:08:23Z
8
33
0
Glue stains appeared on veneer after first coat of poly. Can I sand it down again to erase them? Or should I just give up on woodworking/ life altogether?
by
NataliePortland
2024-03-19T17:07:28Z
13
187
4
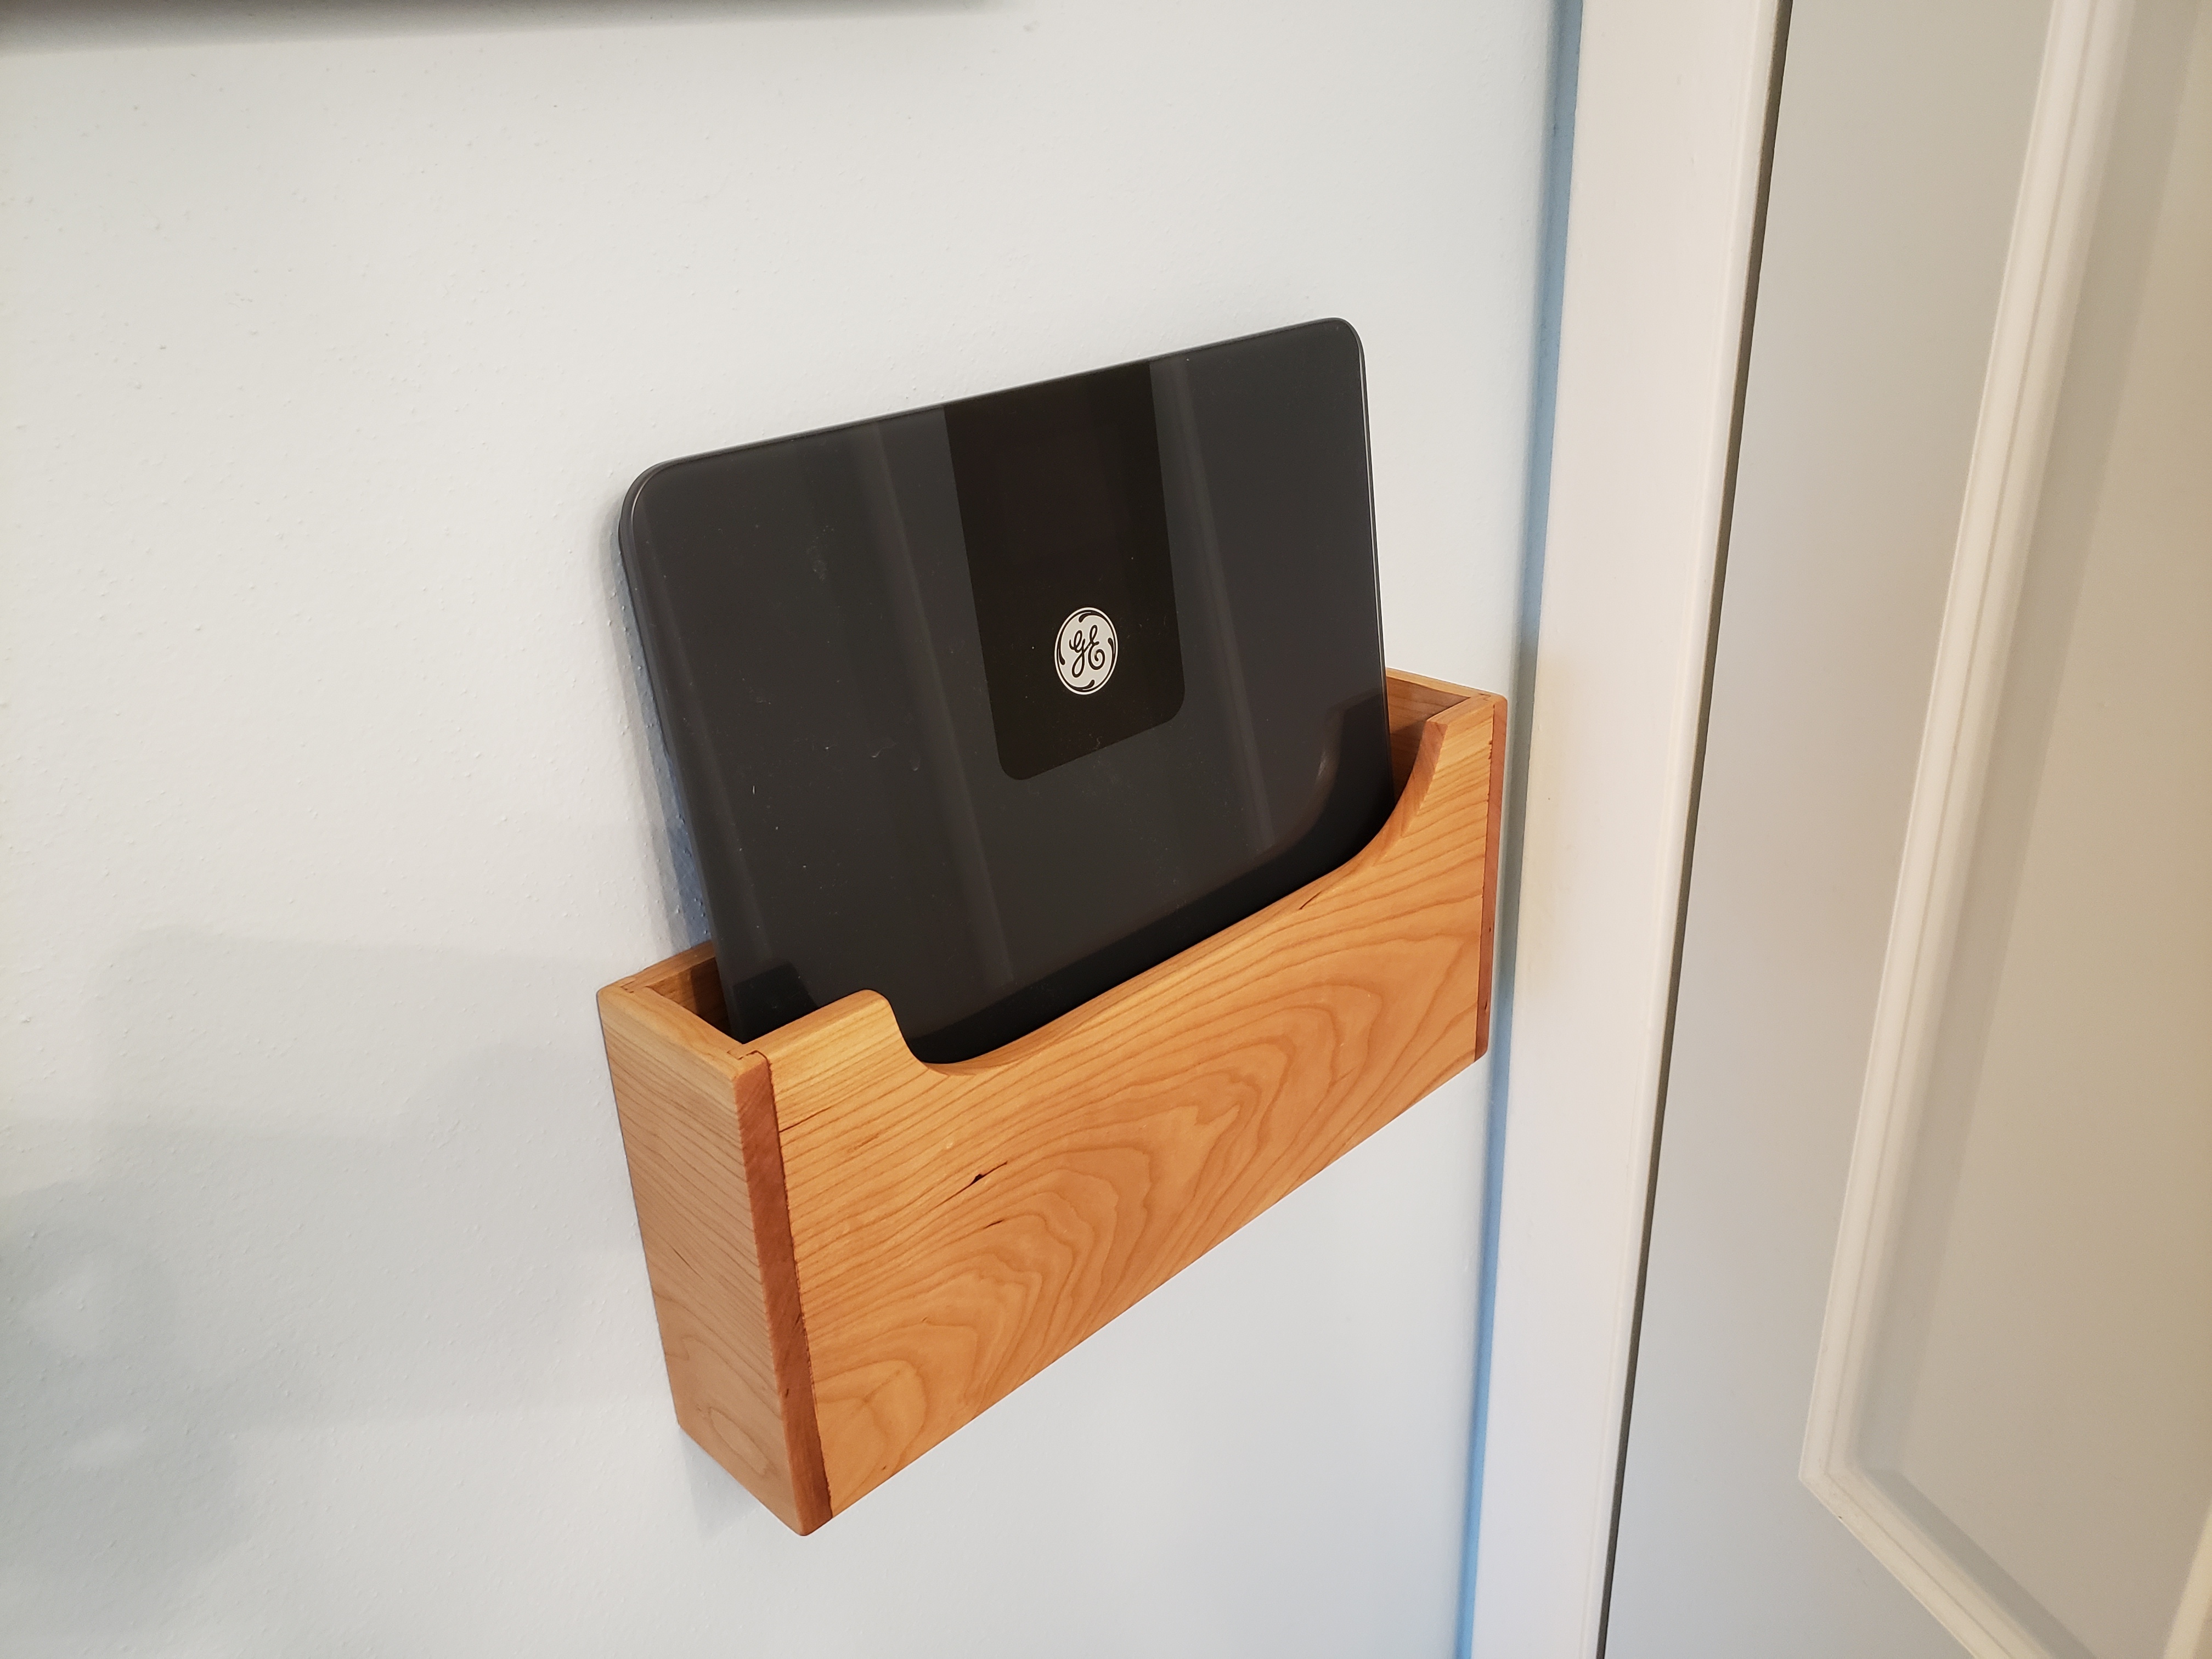
Bathroom Scale Caddy
by
DavidP
2024-03-16T21:03:13Z
10
171
2
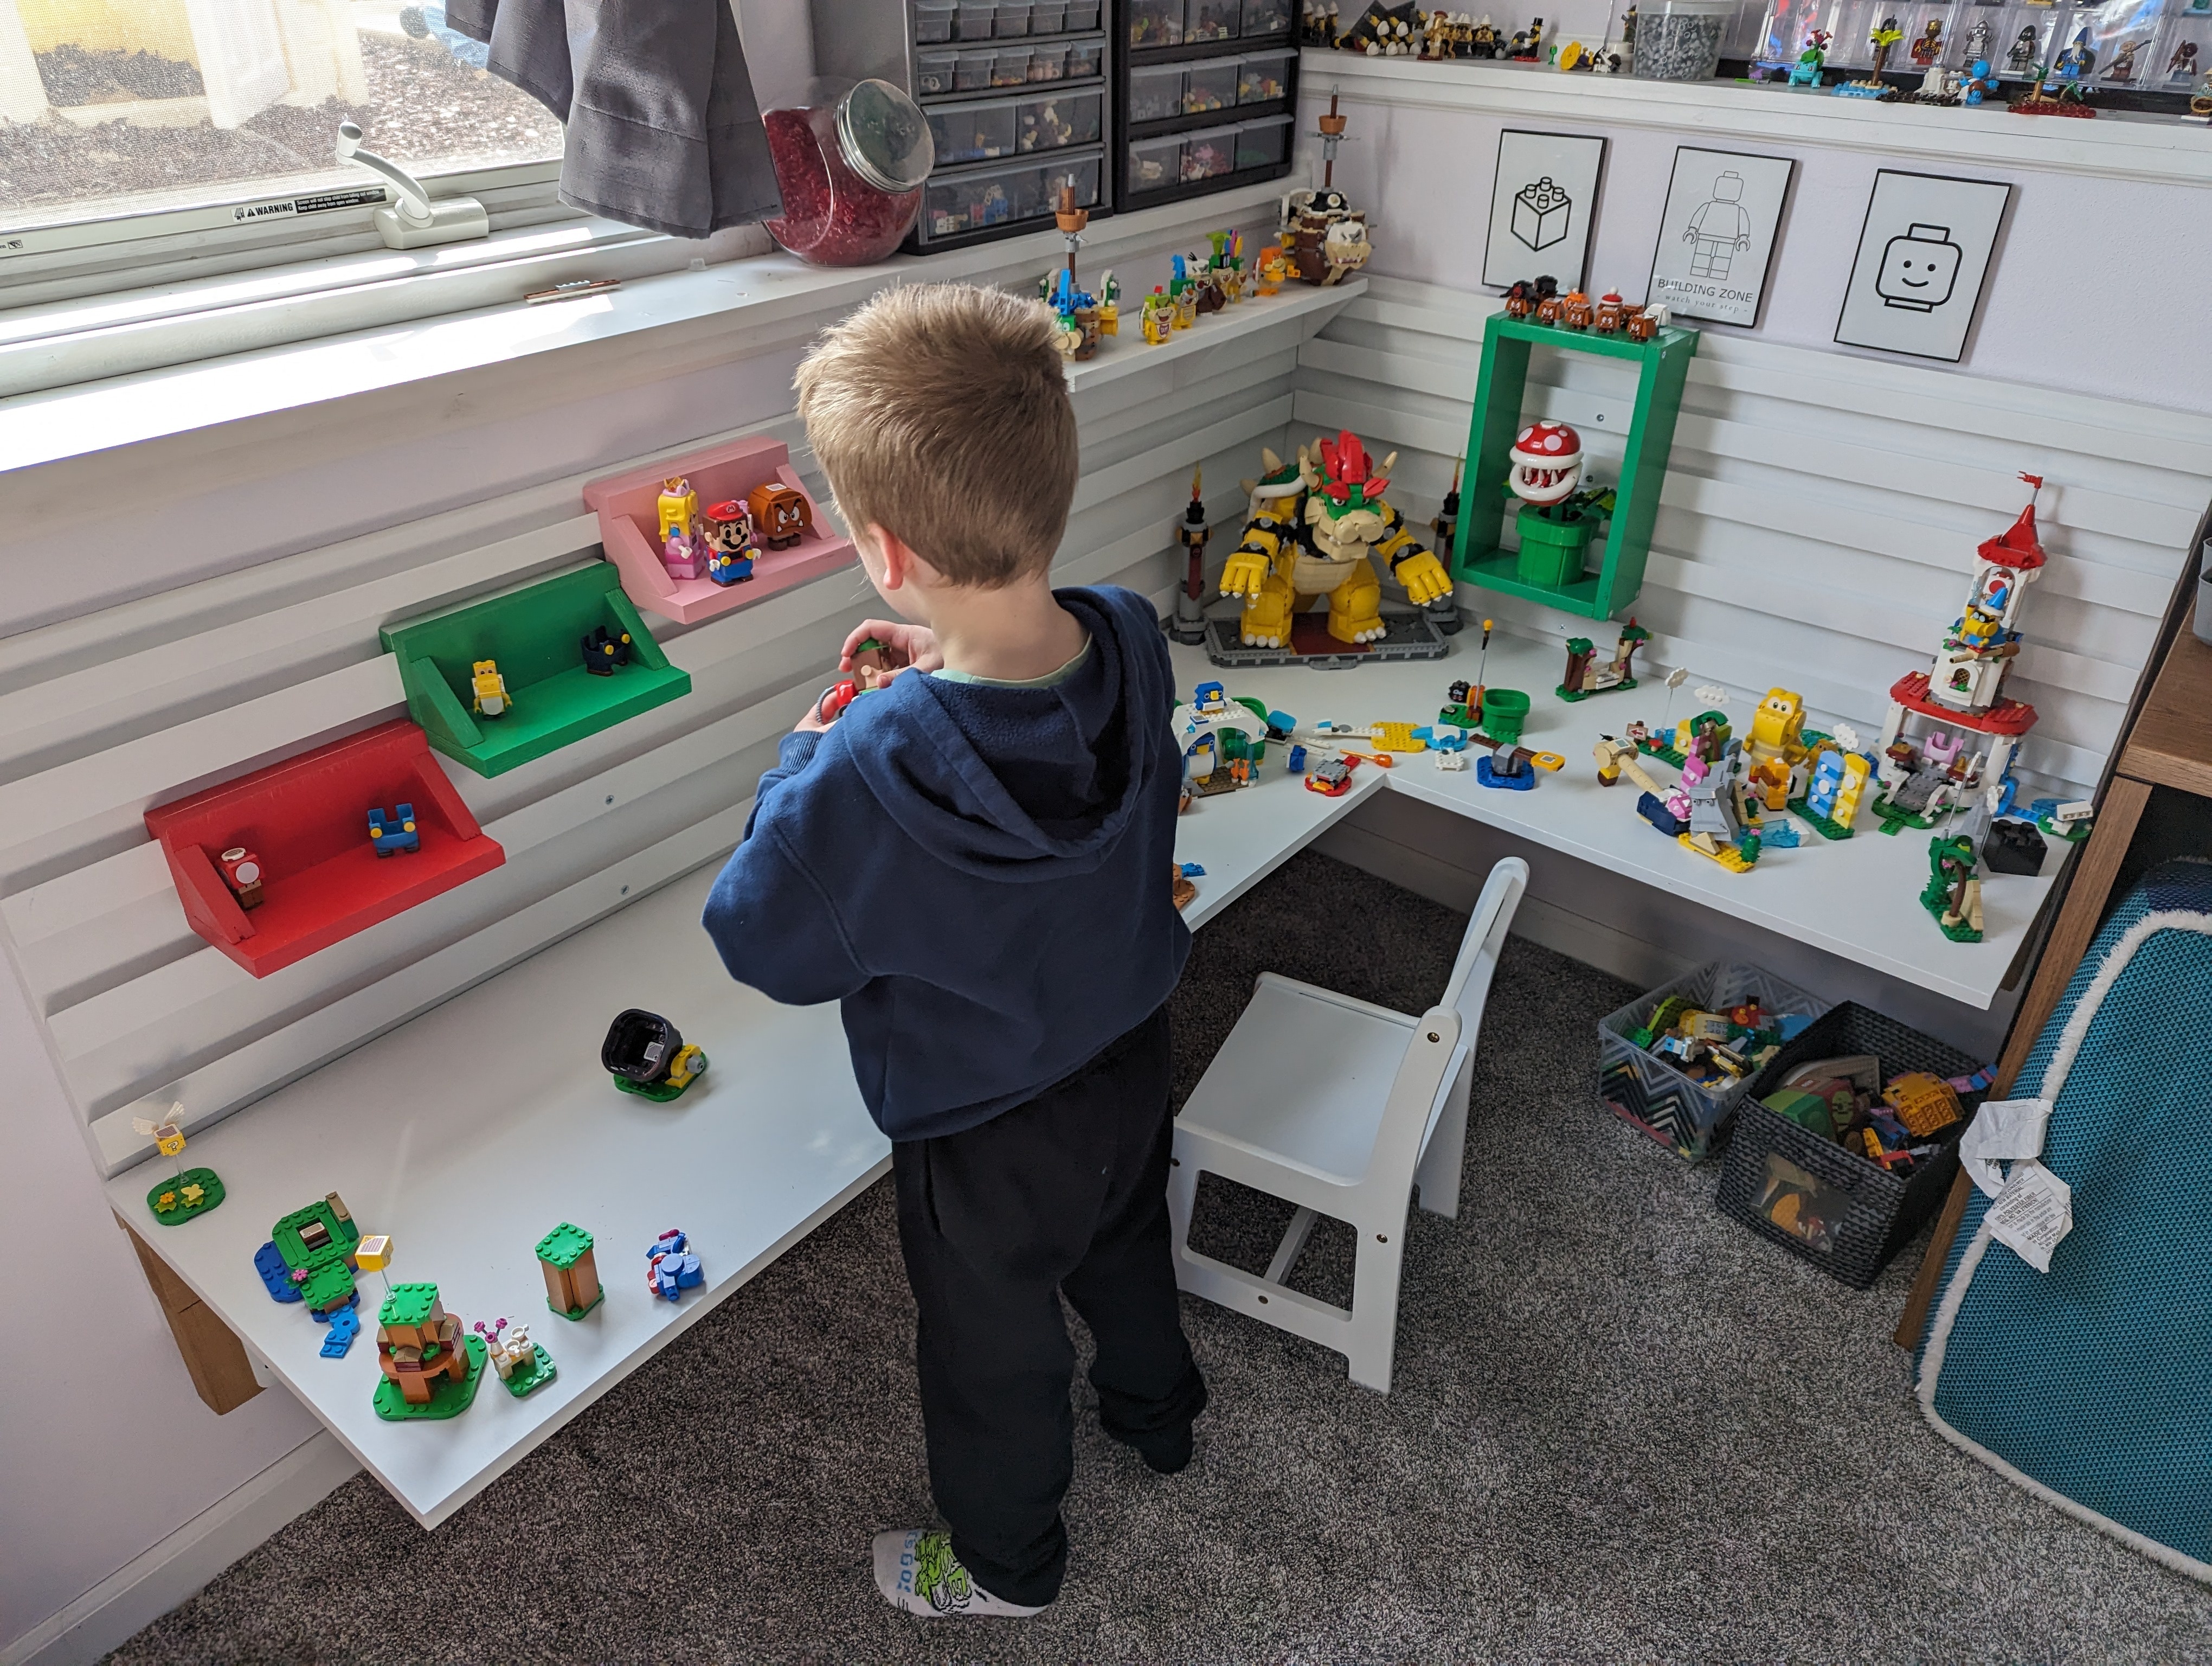
French Cleat Floating Desk
by
adhocfungus
2024-02-28T20:42:32Z
11
254
3
Super happy with cherry office cabinet
by
Mystry
2024-02-24T15:33:37Z
15
18
0
Plant stand writeup and update: I added LED strips.
(
edmomot.github.io
)
by
thenewred
2024-02-20T05:19:40Z
2
15
0
suggestions on securing a fold out shelf
by
technomad
2024-02-18T11:55:19Z
4
79
0
I built myself a wardrobe
(
imgur.com
)
by
slevinkelevra
2024-02-17T22:17:27Z
6
146
1
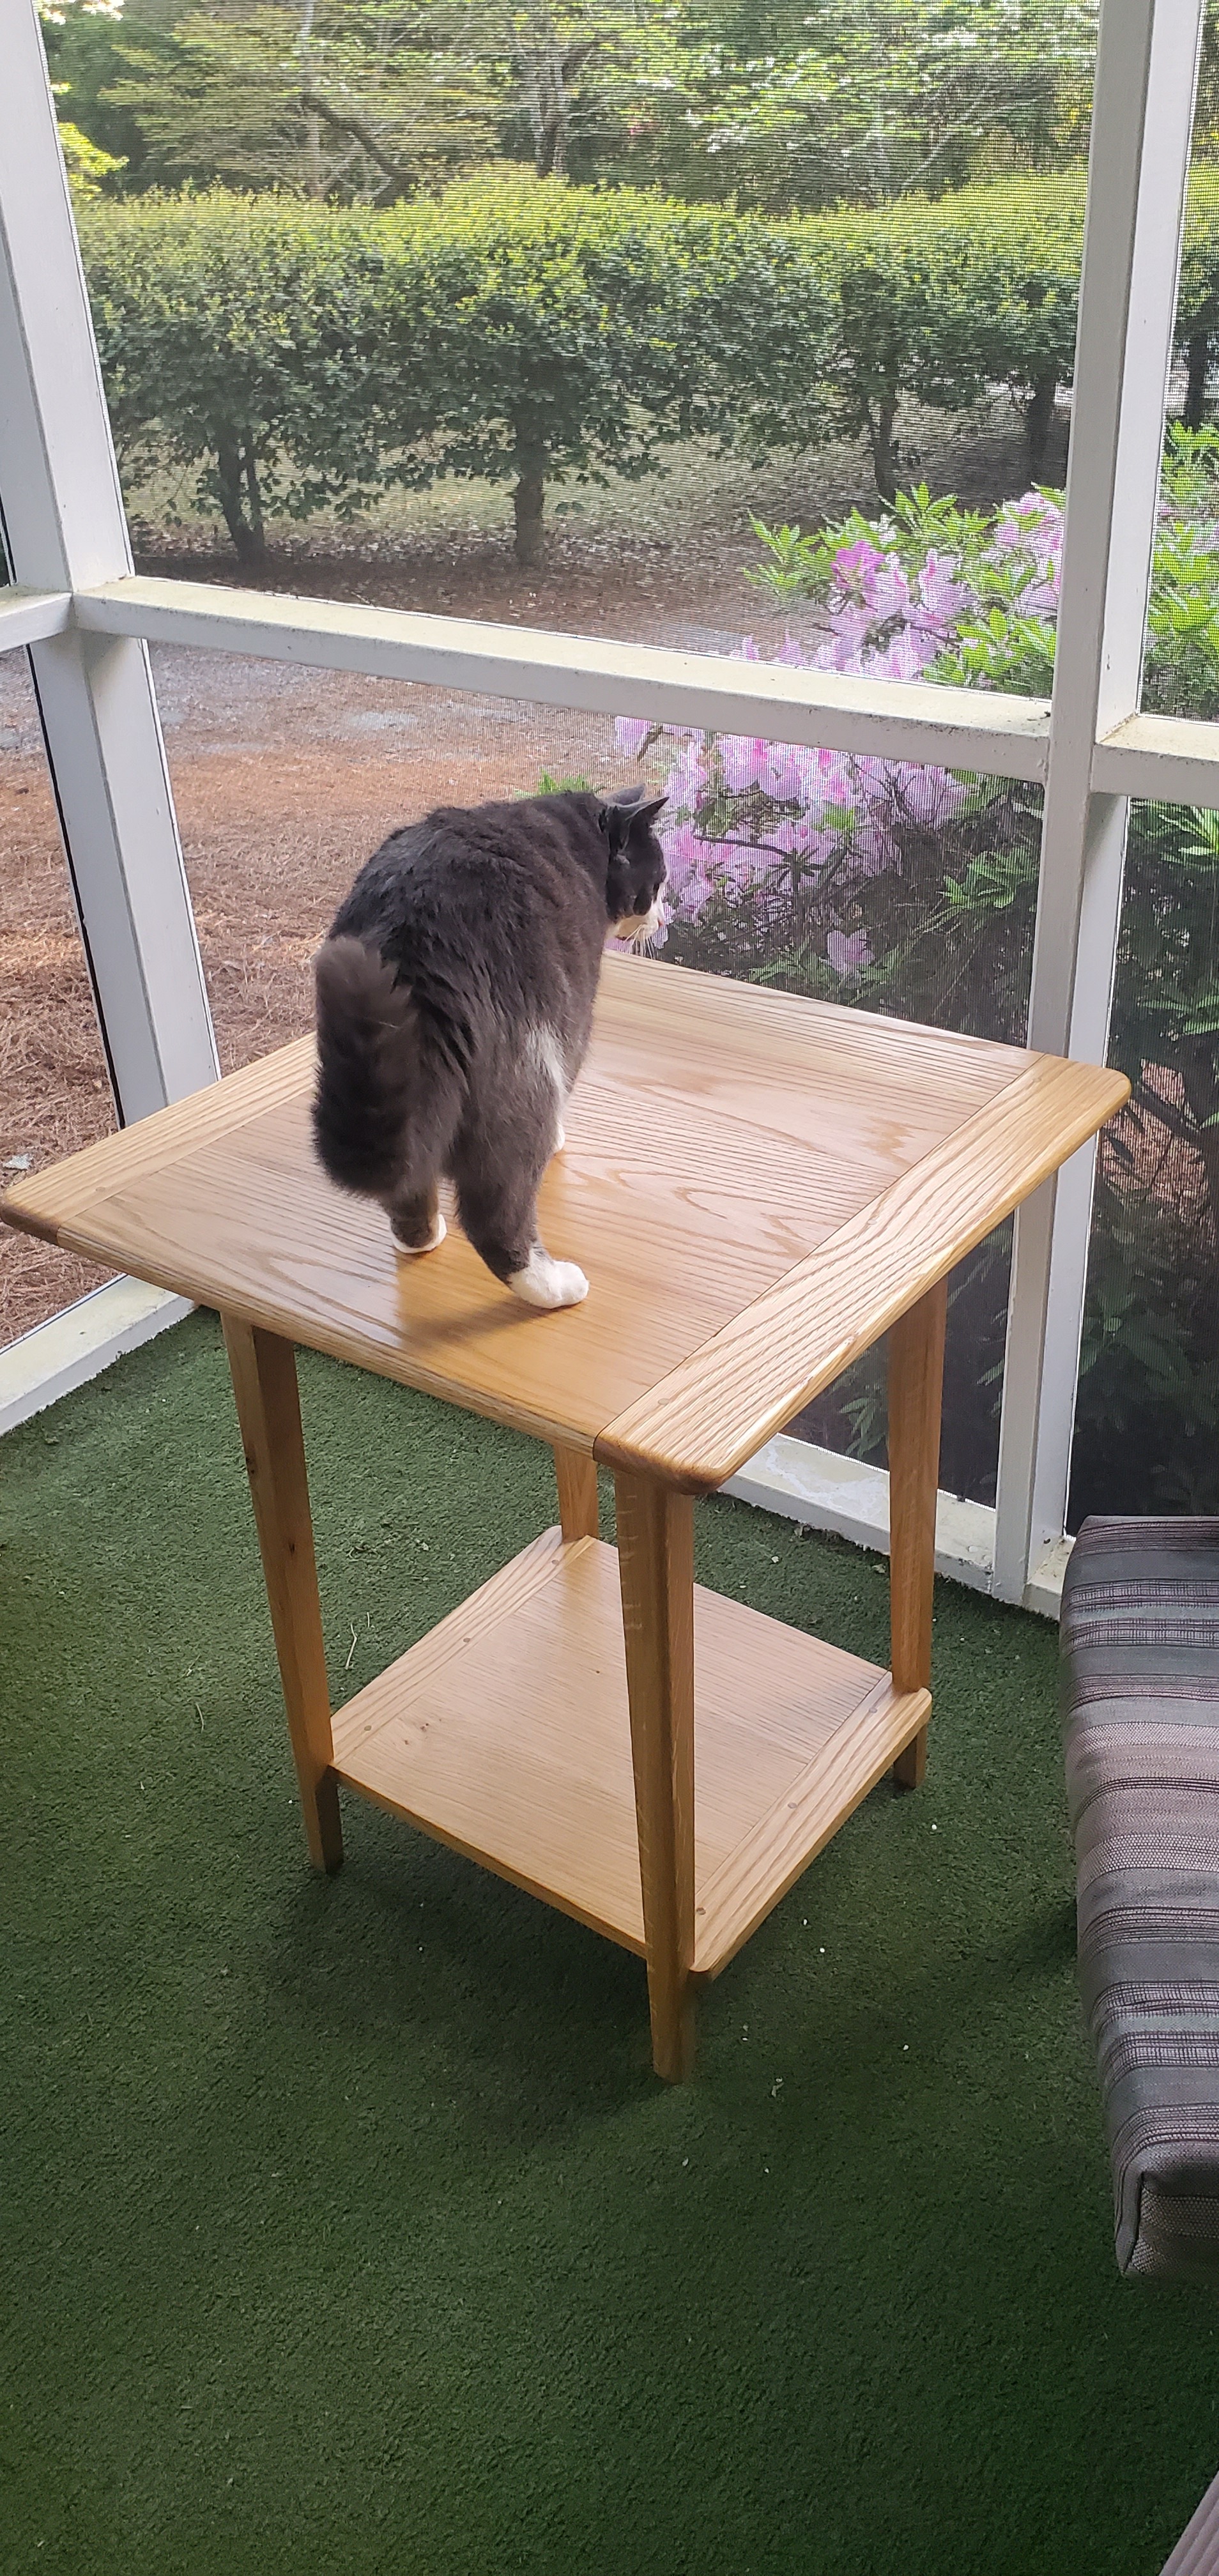
Small Maple Table - made for my toddler
by
DavidP
2024-02-14T18:14:53Z
14
26
1
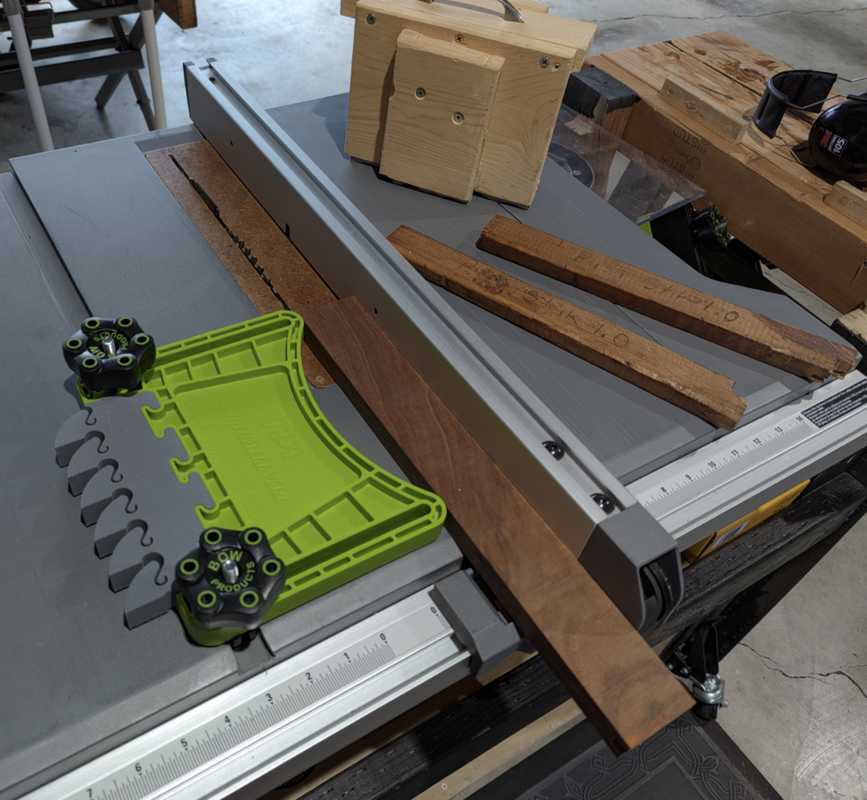
Tip: a Reversed Featherboard Makes a Good Thin Ripping Jig
by
jasparagus
2024-02-07T01:32:17Z
3
101
0
How to best oil wooden cutlery and kitchen tools?
by
Lunch'
2024-02-04T11:47:26Z
24
192
2
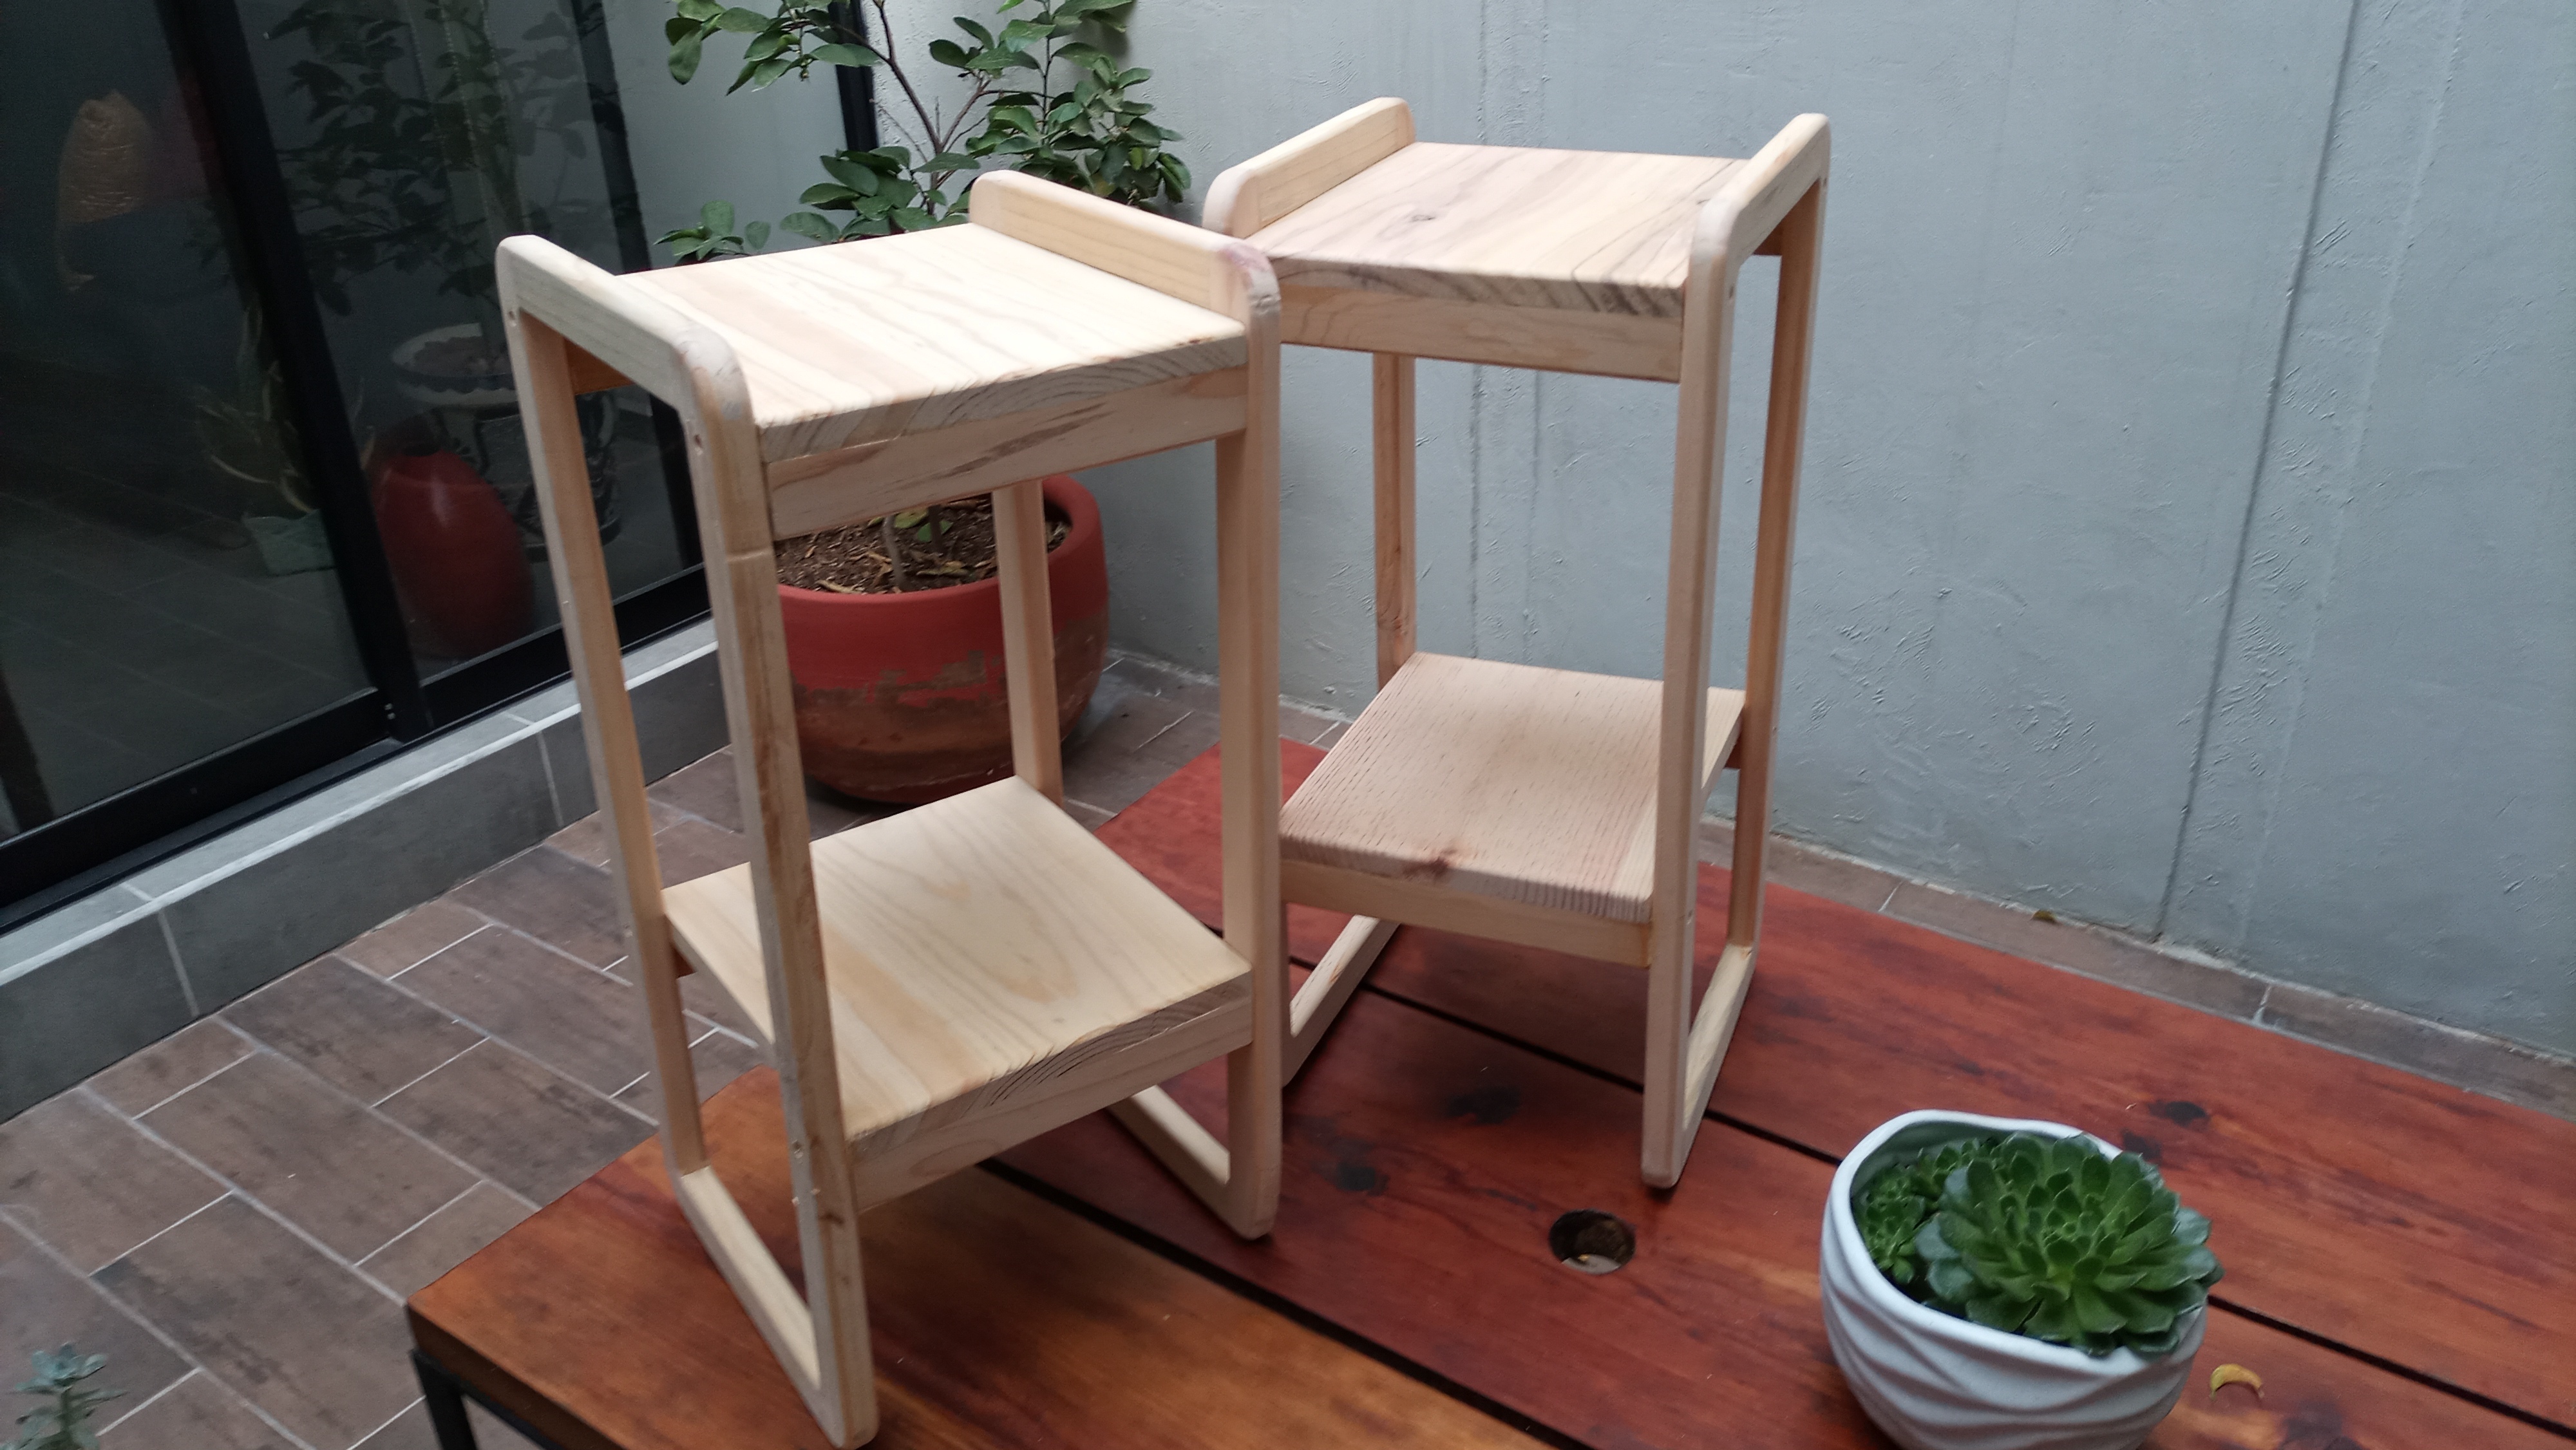
Nightstands for my kids.
by
panchzila
2024-02-03T18:19:57Z
15
75
0
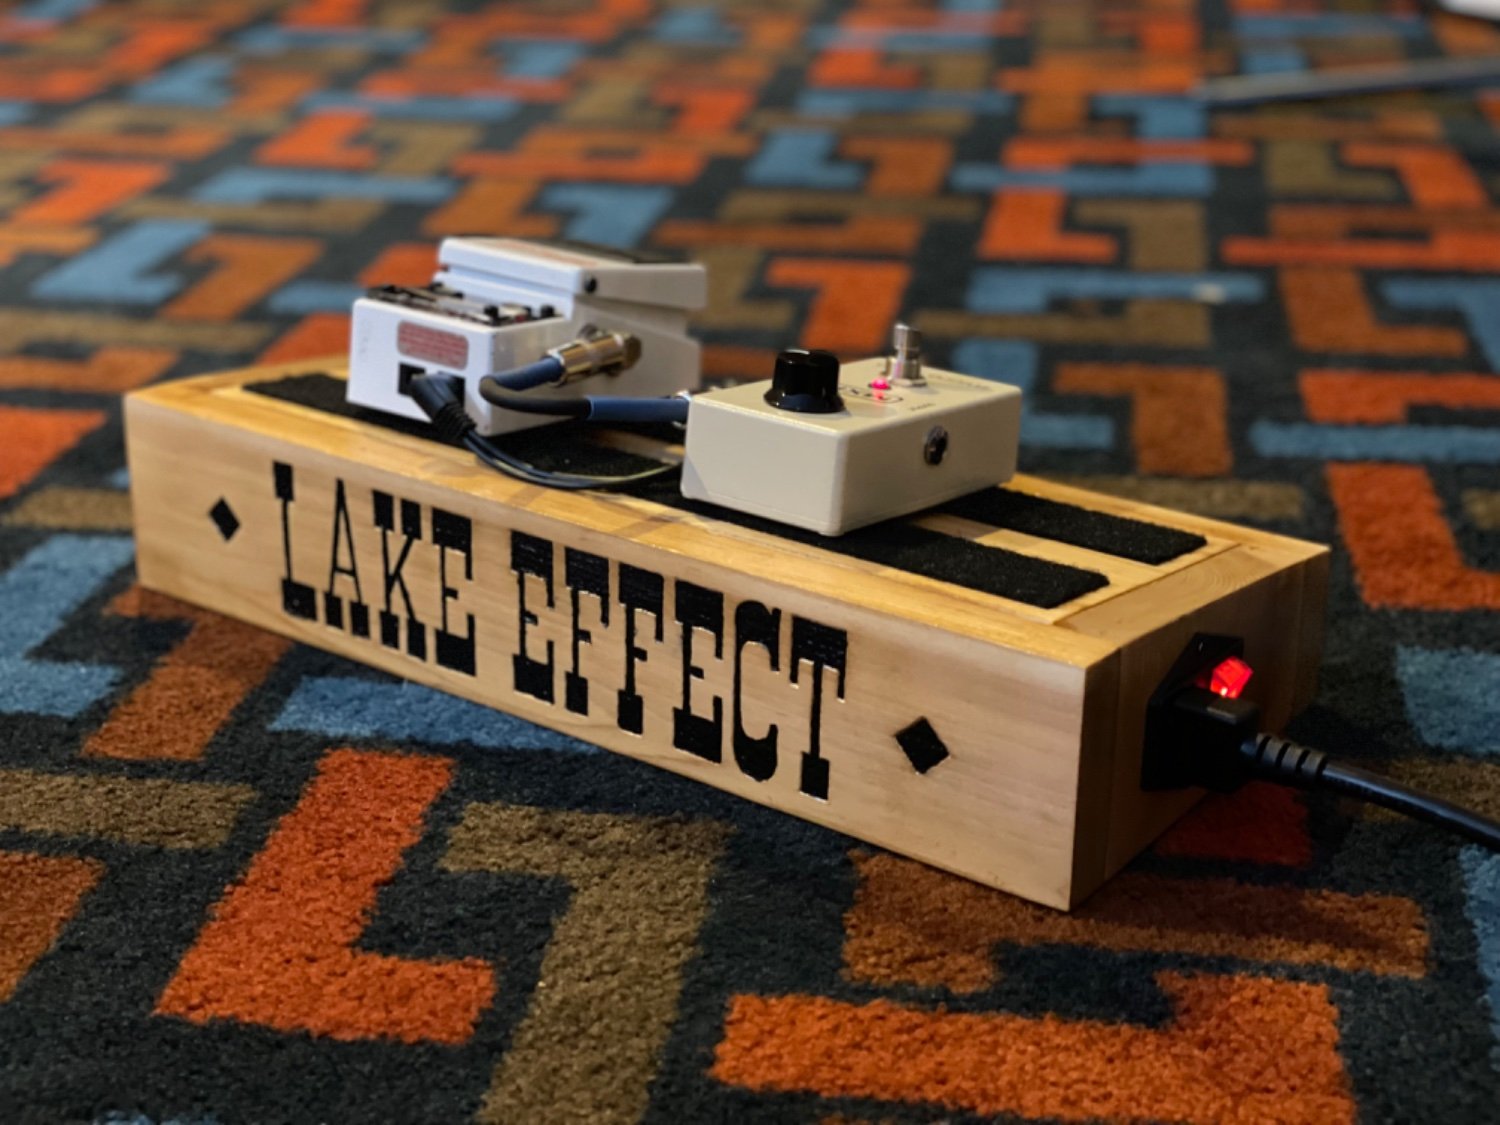
Pedal Board
by
mpg
2024-02-03T15:29:45Z
7
72
6
Strike day back scratcher
by
Kallioapina
2024-02-03T08:07:28Z
5
14
0
How do you know when saw files need to be replaced?
by
loopy
2024-02-03T09:37:23Z
4
15
0
Making strong "Z legs" for a table
by
Swaziboy
2024-01-29T17:09:32Z
9
22
1
What else can I do with this tear out?
by
gsdsam
2024-01-24T14:09:32Z
19
132
3
Catan board made on cnc
by
Milksteaks [he/him]
2024-01-20T04:29:43Z
14
115
0
Bee Box in Oak
by
BradleyUffner
2024-01-11T03:56:52Z
7
7
0
A new work bench I'm building for my wife out of pine
by
ChihuahuaOfDoom
2024-01-08T05:23:05Z
0
10
0
Choke Cherry Bowl - Utility piece for salads
by
DavidP
2024-01-08T03:12:07Z
0
3
0
Please help me choose a clear coat, I'm overwhelmed
by
hi_its_me
2024-01-02T20:54:36Z
1
1
0
Commissioning a Board Game Table, What Should I Look Out For?
by
counselwolf
2024-01-02T18:02:21Z
0
8
0
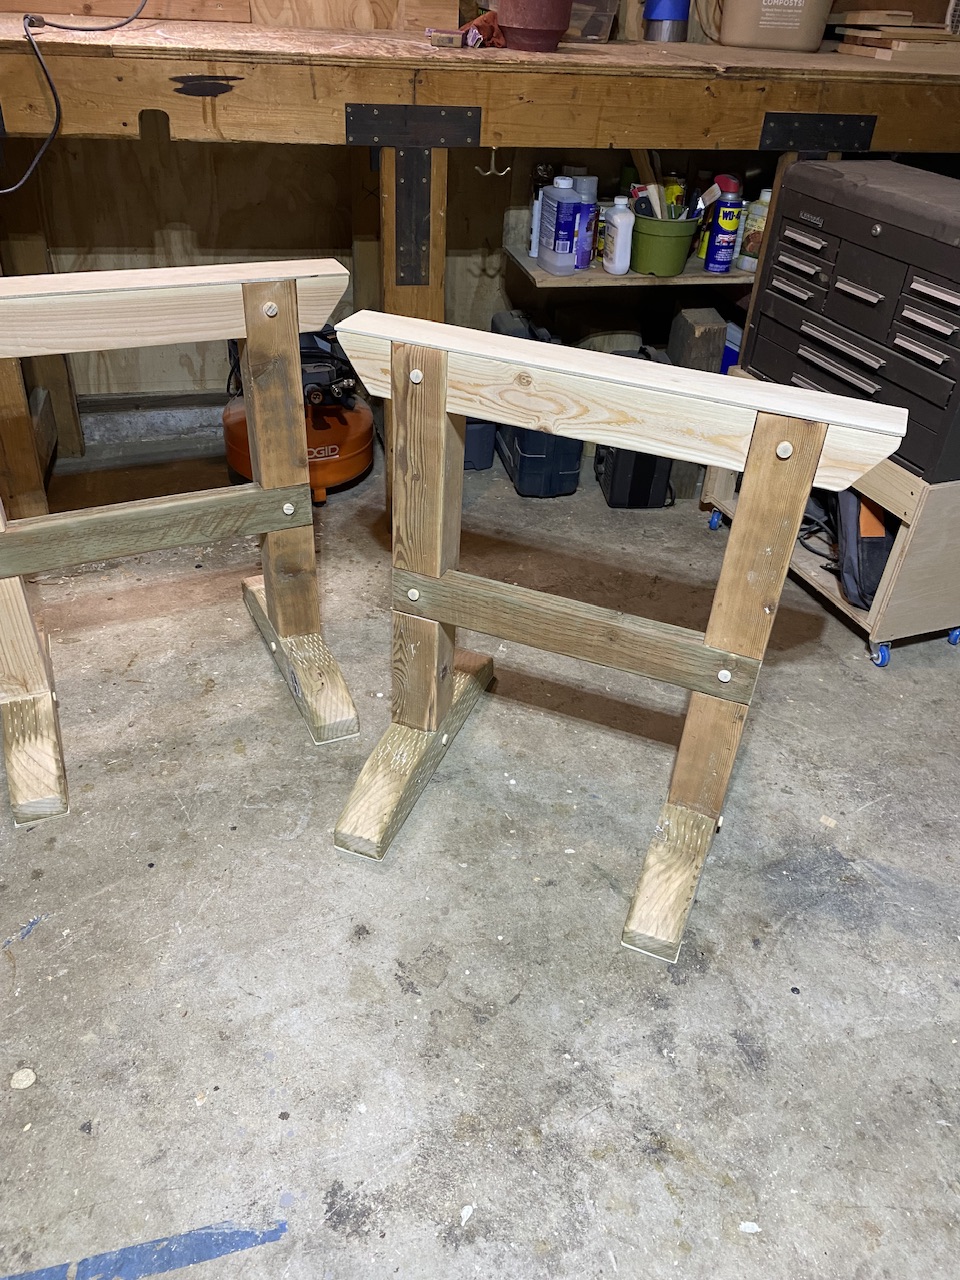
Japanese sawhorses made with scraps. Sturdy!
by
NataliePortland
2023-12-27T18:21:22Z
0
8
1
My first attempt at this kind of carving. Mirror frame in basswood
by
NataliePortland
2023-12-27T18:19:48Z
0
3
0
Chriatmas Gift Coasters
by
Balooog
2023-12-26T22:25:25Z
0
0
0
I added flip down caster wheels to my table saw. Cheaper than a mobile base.
(
edmomot.github.io
)
by
thenewred
2023-12-26T19:54:07Z
0
2
0
Circular window trim for my Japanese tea house style shed
by
PlantDadManGuy
2023-12-26T12:15:30Z
0
4
0
Woodworkers, will you please share some of your favorite tips and tricks with us?
by
NataliePortland
2023-12-20T18:31:43Z
0
3
0
Racing bike, laminated mahogany hollow frame, by ship builder Sueshiro Sano, 2022
by
Nacktmull
2023-12-11T14:06:14Z
0
2
0
Cherry burl bowl with a rim of Osage Orange and Walnut. Friction polish of boiled linseed oil and natural shellac.
by
SpaceBar
2023-12-11T13:06:02Z
0
0
0
Help making a standing door stop heavier?
by
Majawat
2023-12-10T01:43:31Z
0
2
0
Related communities?
by
Thavron
2023-12-08T18:19:55Z
0
1
0
Another oak burl bowl
by
SpaceBar
2023-12-08T15:05:21Z
0
1
0
Woodworking CAD
by
evasive_chimpanzee
2023-12-07T19:25:26Z
0
0
0
Liquor barrels as wood source
by
praxician
2023-12-04T20:37:25Z
0
1
0
Christmas Tree Stand Brace
by
DavidP
2023-12-03T18:02:52Z
0
2
0
An oak burl bowl
by
SpaceBar
2023-12-03T11:56:08Z
0
6
1
Festool domino: My biggest pet peeve with Youtube videos
by
NataliePortland
2023-12-01T00:37:31Z
0
1
0
Q: what’s your sharpening set up
by
EmergMemeHologram
2023-11-29T14:21:02Z
0
0
0
Some wooden Minecraft tools I made irl.
by
ignJojo
2023-11-26T22:56:00Z
0
0
0
Question about my legs...
(
imgur.com
)
by
DontHurtMe23
2023-11-26T17:34:06Z
0
2
0
End tables are finally finished.
by
Captain Aggravated
2023-11-25T20:59:16Z
0
1
0
Last night, I completed this pretty large 15.5 inch by 8.5 inch (39 cm x 21.5 cm) spalted maple holiday bowl.
by
SpaceBar
2023-11-24T15:56:31Z
0
2
0
As far as I can tell, pine can't be finished.
by
Captain Aggravated
2023-11-23T02:51:05Z
0
0
0
Completely new, but would like to someday build a pergola or gazebo
by
praxician
2023-11-22T17:04:49Z
0
0
0
Advice? How to reinforce miters on a credenza carcass with limited tools?
by
NataliePortland
2023-11-22T16:55:39Z
0
3
0
A Vielle (medieval Violin)
by
alleycat
2023-11-21T10:33:01Z
0
1
0
Rubio Monocoat 2c timing
by
CMDR_Horn
2023-11-19T18:48:56Z
0
0
0
Restoring mottled but undamaged veneer
by
Swordgeek
2023-11-19T00:23:00Z
0
1
0
How I sealed my table saw for dust collection with a shop vac
(
edmomot.github.io
)
by
thenewred
2023-11-17T04:18:03Z
0
0
0
Here, chick-chicks!
by
TheForkOfDamocles
2023-11-15T02:50:59Z
0
1
0
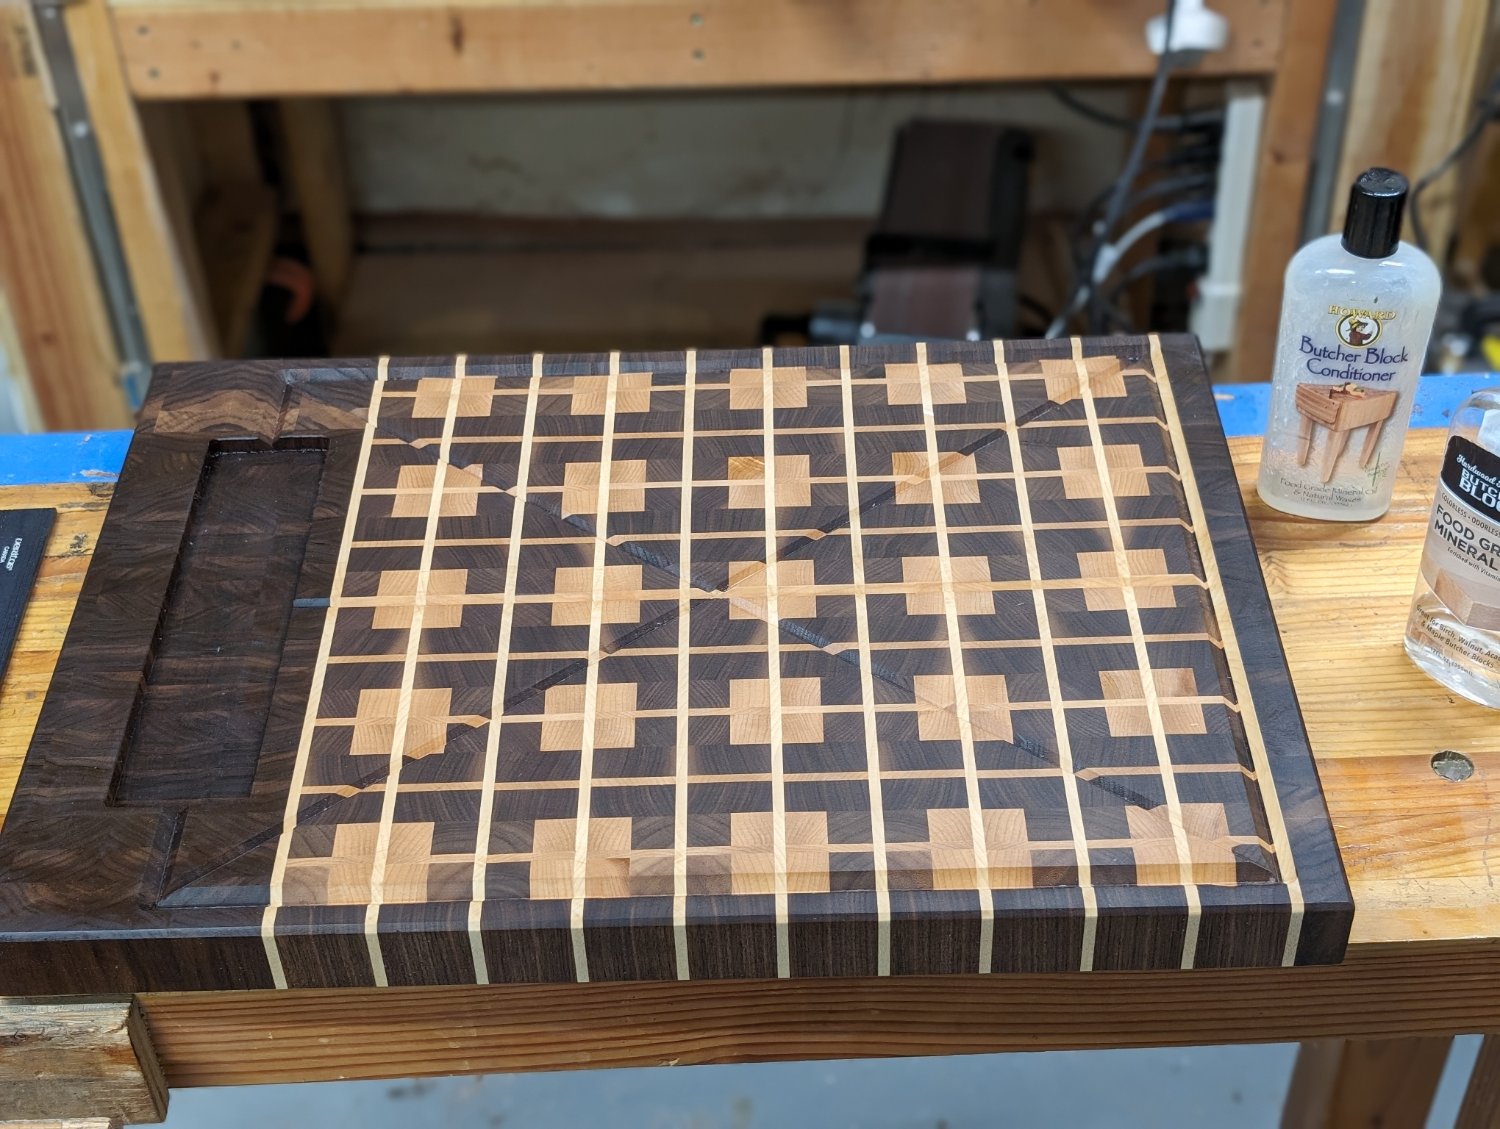
Cutting board for my father in law
by
MarvinKMooney
2023-11-12T15:44:27Z
0
0
0
Has anyone used this product? The lid always gets stuck shut. Is there a trick for that?
by
NataliePortland
2023-11-10T22:40:45Z
0
2
0
Cute little birdhouse I made last year and has a sparrow family now
by
NataliePortland
2023-11-09T20:13:37Z
0
0
0
MCM inspired Square Bowl from padauk
by
Godwins_Law
2023-11-07T20:47:47Z
0
0
0
Not exactly woodworking, but it is my (mostly) woodworking shop. Let me know if I've gone too far astray.
by
jadero
2023-11-07T20:41:37Z
0
0
0
Anyone have book recommendations for woodworking?
by
loopy
2023-11-07T20:24:04Z
0
0
0
Is this an acceptable amount of flatness for a new table saw? Sawstop CTS
(
imgur.com
)
by
BedInspector
2023-11-05T00:13:35Z
0
0
0
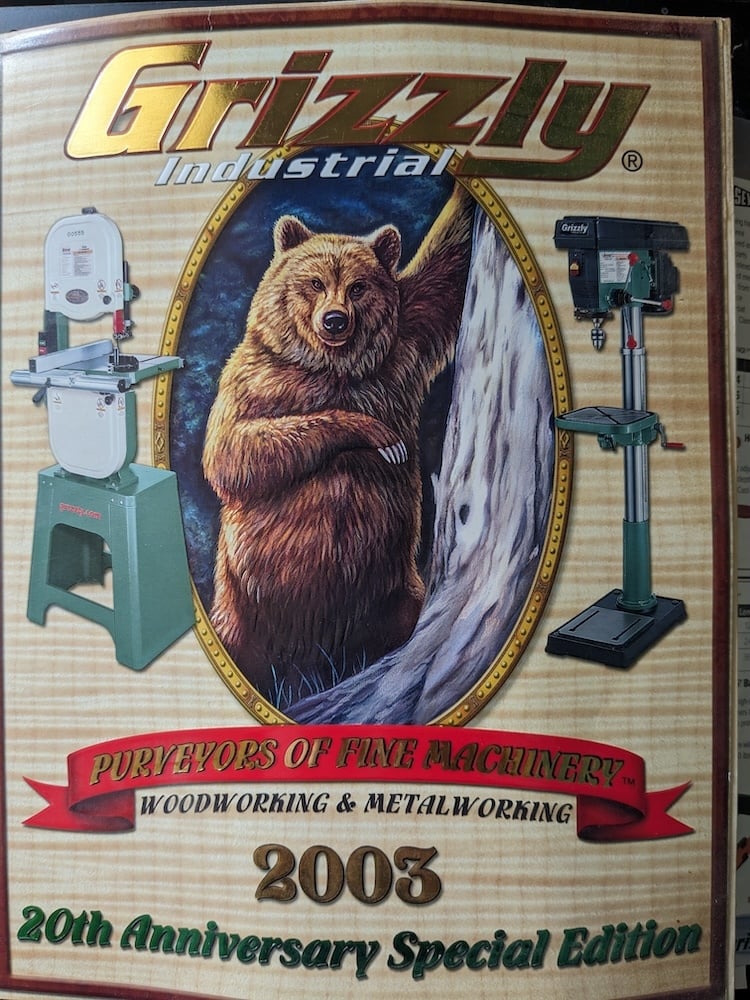
A lesson in inflation from a 2003 Grizzly catalog
by
AMillionMonkeys
2023-11-04T17:03:05Z
0
1
0
Walnut with katalox and cherry
by
SpaceBar
2023-11-04T10:23:41Z
0
0
0
Congratulations to @paddythegeek, the winner of our autumn woodworking contest! Their spooky candy casket is now our community icon.
by
NataliePortland
2023-11-03T15:30:39Z
0
0
0
Poplar coffee table with pine base
by
Ragnarokonline
2023-11-03T11:25:54Z
0
1
0
A six inch bowl of maple, sycamore and walnut
by
SpaceBar
2023-11-03T10:25:31Z
0
1
0
A maple Thanksgiving themed bowl
by
SpaceBar
2023-11-01T21:21:43Z
0
1
0
bandsaw buying advice
by
Aliendelarge
2023-10-31T14:32:02Z
0
0
0
Spooky candy casket
by
paddythegeek
2023-10-31T02:47:36Z
0
1
0
My table at today's artisan fair in Providence Rhode Island
by
SpaceBar
2023-10-29T15:33:03Z
0